Difference between revisions of "DEWBOT VI Week Five Build Season Photo Gallery"
MaiKangWei (talk | contribs) (→Friday February 12, 2010) |
|||
| (7 intermediate revisions by 2 users not shown) | |||
| Line 12: | Line 12: | ||
Image:DB6 Siri welding proxy chassis 100207 csm.jpg|Siri welding the ''proxy chassis'' (just before the welder broke) | Image:DB6 Siri welding proxy chassis 100207 csm.jpg|Siri welding the ''proxy chassis'' (just before the welder broke) | ||
Image:DB6 Rizzo Jen bumpers 100207 csm.jpg|Mike Rizzo & Jen keep the bumpers coming | Image:DB6 Rizzo Jen bumpers 100207 csm.jpg|Mike Rizzo & Jen keep the bumpers coming | ||
| − | Image:DB6 Featherman Sasha Andrew Nichole 100207 csm.jpg|Scott Featherman with Sasha, Andrew, | + | Image:DB6 Featherman Sasha Andrew Nichole 100207 csm.jpg|Scott Featherman with Sasha, Andrew, Nicole & Kenneth |
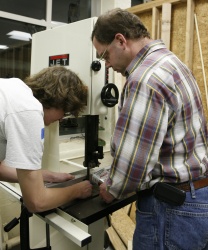
Image:DB6 Alex 100207 csm.jpg|Alex cutting kicker parts on bandsaw | Image:DB6 Alex 100207 csm.jpg|Alex cutting kicker parts on bandsaw | ||
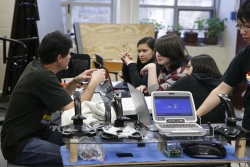
Image:DB6_FRC1640Prg_Design_20100207_0000_copy.jpg|Programming and Design Teams. | Image:DB6_FRC1640Prg_Design_20100207_0000_copy.jpg|Programming and Design Teams. | ||
| Line 23: | Line 23: | ||
<gallery widths=250 heights=250 perrow=3> | <gallery widths=250 heights=250 perrow=3> | ||
| − | image:DB6 Jen Drexel Rizzo Weissman red bumpers 100208 csm.jpg|Jen, Bob Drexel, Mike Rizzo & | + | image:DB6 Jen Drexel Rizzo Weissman red bumpers 100208 csm.jpg|Jen, Bob Drexel, Mike Rizzo & Sue Weissman - ''robot in red'' |
image:DB6 Morun repairing welder 100208 csm.jpg|Mark Morun repairing the welder | image:DB6 Morun repairing welder 100208 csm.jpg|Mark Morun repairing the welder | ||
image:DB6 Douglas Cole crate 100208 csm.jpg|Douglas & Cole working on the crate | image:DB6 Douglas Cole crate 100208 csm.jpg|Douglas & Cole working on the crate | ||
| Line 81: | Line 81: | ||
image:DB6_BenR_100212_csm_1.jpg|Ben R | image:DB6_BenR_100212_csm_1.jpg|Ben R | ||
image:DB6_BenR_100212_csm_2.jpg|Ben R & DEWBOT | image:DB6_BenR_100212_csm_2.jpg|Ben R & DEWBOT | ||
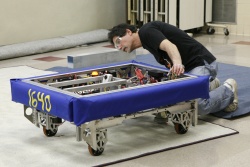
| − | image: | + | image:DB6_first_drive_under_cRIO.jpg|First drive under cRIO control |
image:DB6_Douglas_100212_csm_1.jpg|Douglas | image:DB6_Douglas_100212_csm_1.jpg|Douglas | ||
image:DB6_Carly_100212_csm_1.jpg|Carly | image:DB6_Carly_100212_csm_1.jpg|Carly | ||
image:DB6_Douglas_100212_csm_2.jpg|Douglas | image:DB6_Douglas_100212_csm_2.jpg|Douglas | ||
image:DB6_Carly_100212_csm_2.jpg|Carly | image:DB6_Carly_100212_csm_2.jpg|Carly | ||
| − | image: | + | image:DB6_Douglas_100212_csm_3.jpg|Douglas & jaguar panel |
image:DB6_Schucker_Douglas_100212_csm.jpg|Foster Schucker & Douglas finishing cRIO & Jaguar panels | image:DB6_Schucker_Douglas_100212_csm.jpg|Foster Schucker & Douglas finishing cRIO & Jaguar panels | ||
image:DB6_jaguar_panel_detail_100212_csm.jpg|Jaguar panel detail (we've learned to label) | image:DB6_jaguar_panel_detail_100212_csm.jpg|Jaguar panel detail (we've learned to label) | ||
| Line 93: | Line 93: | ||
image:DB6_Carly_Douglas_100212_csm_1.jpg|Carly & Douglas tapping holes | image:DB6_Carly_Douglas_100212_csm_1.jpg|Carly & Douglas tapping holes | ||
image:DB6_Carly_Douglas_100212_csm_2.jpg|Carly & Douglas tapping holes | image:DB6_Carly_Douglas_100212_csm_2.jpg|Carly & Douglas tapping holes | ||
| − | image:DB6_Matt_Michael_mining_DB4_100212_csm.jpg|Matt & Michael mining parts from [[DEWBOT IV]] | + | image:DB6_Matt_Michael_mining_DB4_100212_csm.jpg|Matt & Michael mining 80/20 parts from [[DEWBOT IV]] |
image:DB6_possessor_100212_csm.jpg|''possessor'' | image:DB6_possessor_100212_csm.jpg|''possessor'' | ||
image:DB6_Schucker_Featherman_locating_sensors_100212_csm.jpg|Foster Schucker & Scott Featherman using the ''proxy chassis'' to locate positions for the IR sensors | image:DB6_Schucker_Featherman_locating_sensors_100212_csm.jpg|Foster Schucker & Scott Featherman using the ''proxy chassis'' to locate positions for the IR sensors | ||
| Line 107: | Line 107: | ||
<gallery widths=250 heights=250 perrow=3> | <gallery widths=250 heights=250 perrow=3> | ||
| + | image:DB6_bumper_weigh-in_100213_csm_1.jpg|Bumper weigh-in | ||
| + | image:DB6_bumper_weigh-in_100213_csm_2.jpg|we're light! | ||
| + | image:DB6_Cole_Siri_Jen_kicker_100213_csm.jpg|Cole, Siri & Jen installing the kicker on the ''proxy chassis'' | ||
| + | image:DB6_camera_mount_100213_csm.jpg|Camera mount (prototype) | ||
| + | image:DB6_McKown_Andrew_Sasha_Moyer_CADers_100213_csm.jpg|CAD team - Clem McKown, Andrew, Sasha & David Moyer | ||
| + | image:DB6_Carly_Jen_100213_csm.jpg|Carly & Jen cutting 80/20 for the Operator Interface | ||
| + | image:DB6_Matt_Douglas_100213_csm.jpg|Matt & Douglas cut parts for the screwdriver | ||
| + | image:DB6_Melanie_Bachmann_100213_csm.jpg|Melanie & Julie Bachmann | ||
| + | image:DB6_Deaver_100213_csm.jpg|Gary Deaver running the ''possessor'' motor | ||
| + | image:DB6_Douglas_100213_csm.jpg|Douglas | ||
| + | image:DB6_Weissman_Deaver_McKown_100213_csm.jpg|John Weissman, Gary Deaver & Clem McKown | ||
| + | image:DB6_Rizzo_screwdriver_form_100213_csm.jpg|Mike Rizzo assembling the screwdriver skeleton | ||
| + | image:DB6_main_disconnect_mnt_100213_csm.jpg|Main disconnect mount (PMMA block) | ||
| + | image:DB6_Featherman_pneumatic_testbed_100213_csm.jpg|Scott Featherman wiring the pneumatic testbed | ||
| + | image:DB6_Siri_Deaver_Morun_kicker_100213_csm.jpg|Siri, Gary Deaver & Mark Morun test firing the kicker | ||
| + | image:DB6_Featherman_100213_csm.jpg|Scott Featherman with DEWBOT VI | ||
| + | image:DB6_Carly_calibrator_100213_csm.jpg|Carly holding the wheel calibration guide against the pivots | ||
| + | image:DB6_BenR_potentiometers_100213_csm.jpg|Ben R calibrating wheels with the potentiometers | ||
| + | image:DB6_Deaver_Morun_possessor_100213_csm.jpg|Gary Deaver & Mark Morun mounting the ''possessor'' | ||
| + | image:DB6_bainbots_apart_100213_csm.jpg|Bainbots P60 gearbox apart for a stage reduction | ||
| + | image:DB6_bainbots_togetherish_100213_csm.jpg|Bainbots 3-stage gearbox coming together | ||
| + | image:DB6_Douglas_Moyer_100213_csm.jpg|Douglas & David Moyer cutting steel for the kicker release | ||
| + | image:DB6_bump_1_01_100213_csm.jpg|Bump sequence 1/11 | ||
| + | image:DB6_bump_1_02_100213_csm.jpg|Bump sequence 2/11 | ||
| + | image:DB6_bump_1_03_100213_csm.jpg|Bump sequence 3/11 | ||
| + | image:DB6_bump_1_04_100213_csm.jpg|Bump sequence 4/11 | ||
| + | image:DB6_bump_1_05_100213_csm.jpg|Bump sequence 5/11 | ||
| + | image:DB6_bump_1_06_100213_csm.jpg|Bump sequence 6/11 | ||
| + | image:DB6_bump_1_07_100213_csm.jpg|Bump sequence 7/11 | ||
| + | image:DB6_bump_1_08_100213_csm.jpg|Bump sequence 8/11 | ||
| + | image:DB6_bump_1_09_100213_csm.jpg|Bump sequence 9/11 | ||
| + | image:DB6_bump_1_10_100213_csm.jpg|Bump sequence 10/11 | ||
| + | image:DB6_bump_1_11_100213_csm.jpg|Bump sequence 11/11 | ||
</gallery> | </gallery> | ||
---- | ---- | ||
| − | [[Category:Robot]][[Category:DEWBOT VI]][[Category:DEWBOT VI Build]] | + | [[Category:Robot]][[Category:DEWBOT VI]][[Category:DEWBOT VI Build]][[Category:Photo Galleries]] |
Latest revision as of 16:37, 15 February 2011
Contents
Sunday February 7, 2010
DEWBOT VI weigh-in at day's start - 89.0 lb
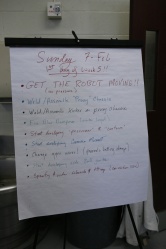
The day's work plan
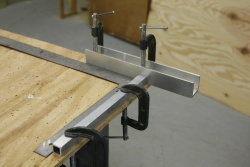
Welding set-up
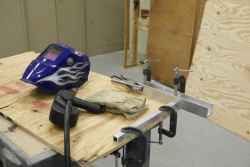
Ready to weld
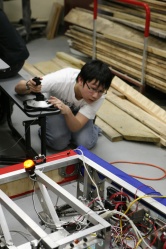
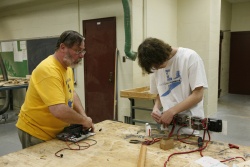
Kenneth programming the drive
Rizzo on a Noodle Quest - An antique DEWBOT III bumper prepares to take a bullet for the team!
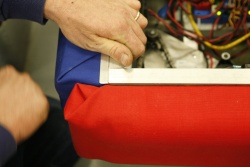
Bumpers fixed & legal - Mind the gap!
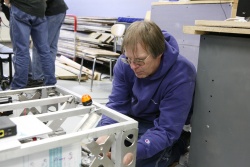
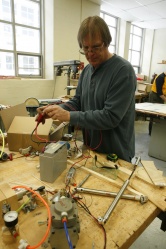
Gary Deaver works on the possessor
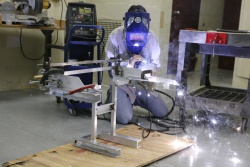
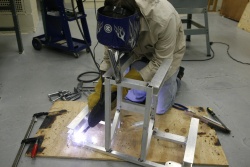
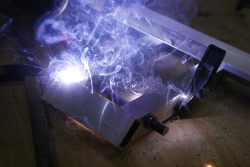
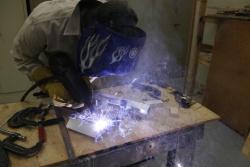
Siri welding the proxy chassis (just before the welder broke)
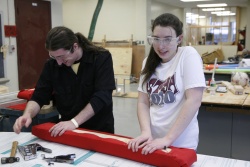
Mike Rizzo & Jen keep the bumpers coming
Scott Featherman with Sasha, Andrew, Nicole & Kenneth
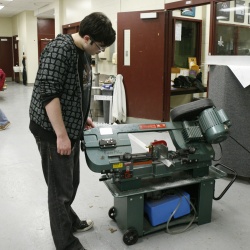
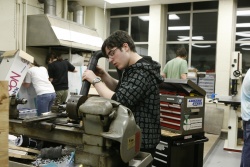
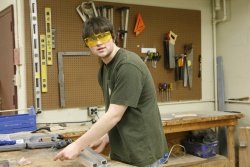
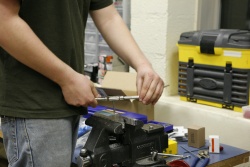
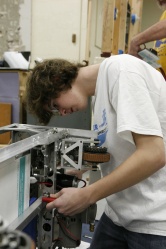
Alex cutting kicker parts on bandsaw
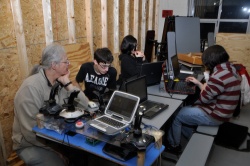
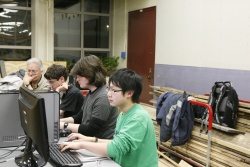
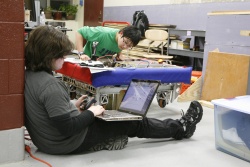
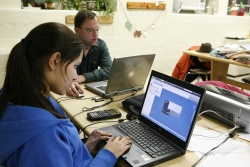
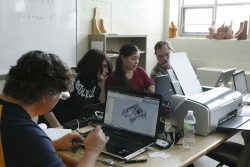
Programming and Design Teams.
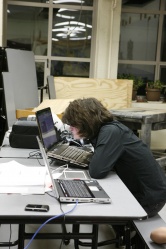
Ben R & Jon Davis face the programming challenges
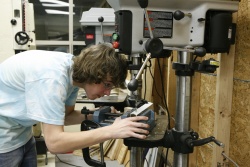
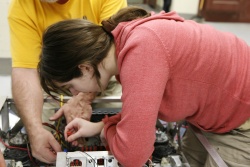
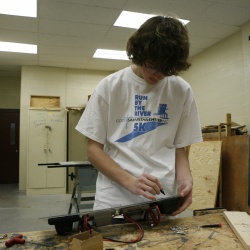
Douglas carefully drills the axle holes in our kicker arm
Shop clean-up
_100207_csm.jpg)


_bumpers_100207_csm.jpg)


Monday February 8, 2010
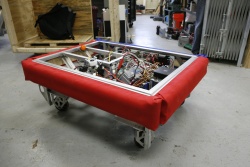
Jen, Bob Drexel, Mike Rizzo & Sue Weissman - robot in red
Mark Morun repairing the welder
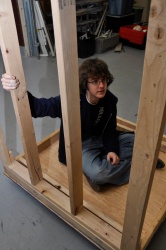
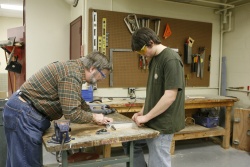
Douglas & Cole working on the crate
Does it fit? Do we have all the pieces?
Douglas fits...but it's for Dewbot VI!
Making repairs.
Jon Davis & Kenneth
David Moyer designing the kicker release
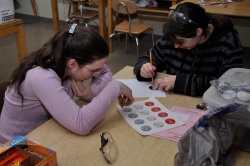
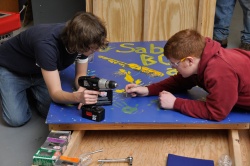
Jen and Carly working discussing button ideas
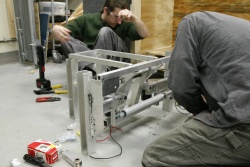
Matt completing the proxy chassis welding

Clem McKown .... "Atlas" with the chassis.
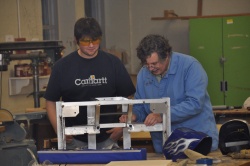
Matt and Clem McKown working on Proxy Chassis.

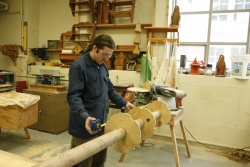
turning hubs on the lathe
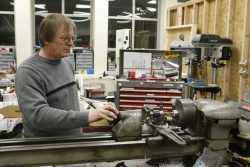
Gary Deaver turning hubs for the possessor
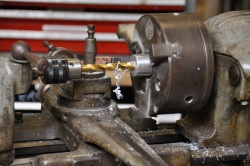
Lathe making it easy.


Tuesday February 9, 2010
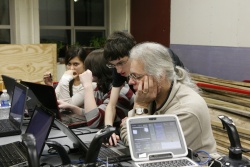
Our programming team - bringing out the big guns
Matt aligning the kicker arms
Mark Morun & Matt aligning the kicker arms
Douglas
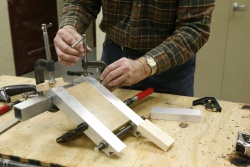
Mark Morun clamping the kicker parts in preparation for welding
Sasha & Julie Bachmann
welding the kicker
Matt completing the kicker welding
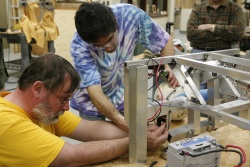
Mike Rizzo & Gary Deaver installing components on the proxy chassis
Paul & Kenneth working together


Wednesday February 10, 2010
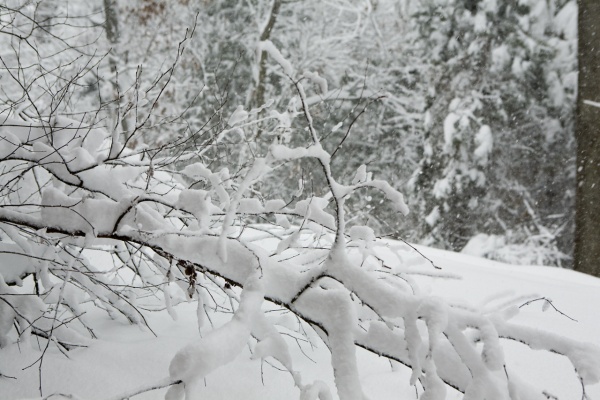
Build Season Blizzard # 2

Thursday February 11, 2010
Matt tapping PMMA mounting block

Douglass tapping the block
Kenneth steering!
Paul intent
Sasha & David Moyer keeping a step ahead of building in Inventor
Faith McKown, Carly & Sasha working on website


Friday February 12, 2010
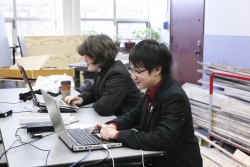
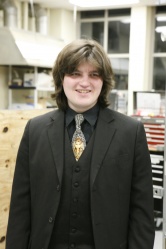
Paul & Kenneth - bringing in the suits
Paul & DEWBOT VI
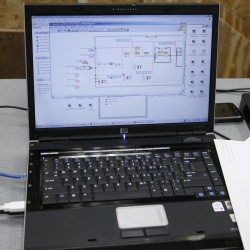
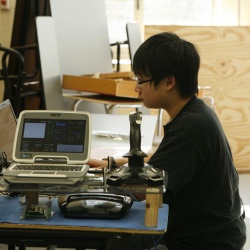
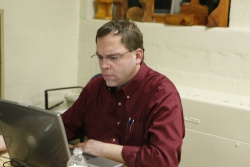
labview screen

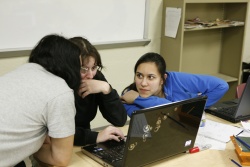
Kenneth & Paul smiling - do they have something to smile about?
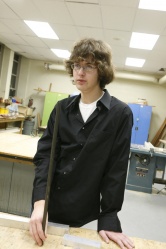
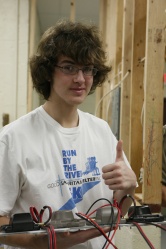
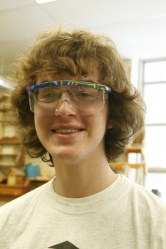
Ben R
Ben R & DEWBOT
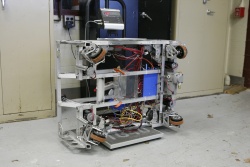
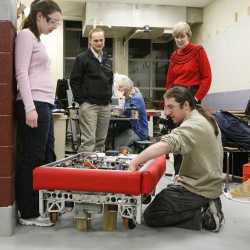
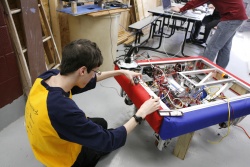
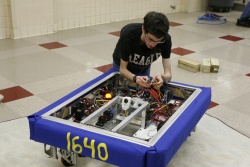
First drive under cRIO control
Douglas
Carly
Douglas
Carly
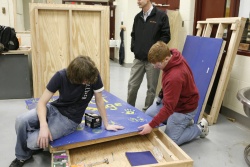
Douglas & jaguar panel
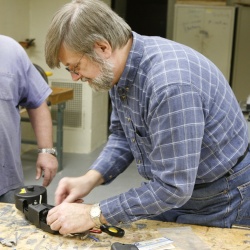
Foster Schucker & Douglas finishing cRIO & Jaguar panels
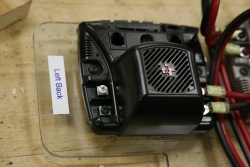
Jaguar panel detail (we've learned to label)
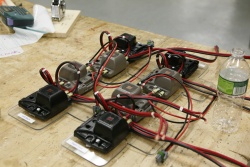
Jaguar panels
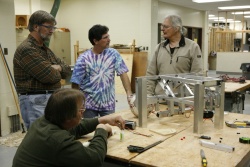
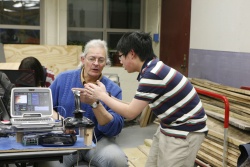
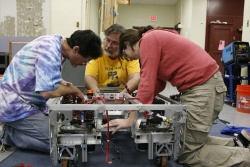
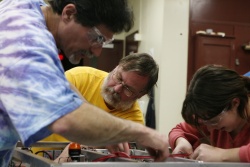
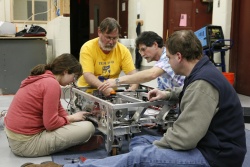
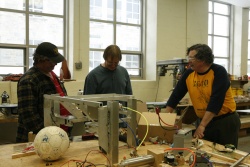
Mark Morun, Gary Deaver, Scott Featherman & Jon Davis discuss the possessor & centeror options
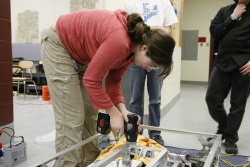
Carly & Douglas tapping holes

Carly & Douglas tapping holes

Matt & Michael mining 80/20 parts from DEWBOT IV
possessor
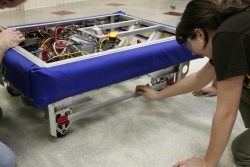
Foster Schucker & Scott Featherman using the proxy chassis to locate positions for the IR sensors
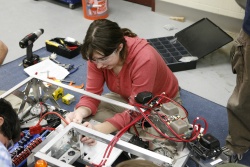
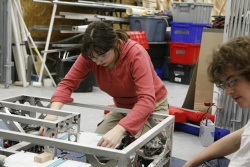
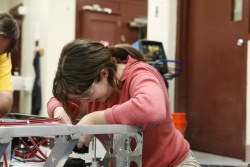
Carly
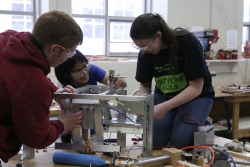
Scott Featherman, Foster Schucker & Carly reinstalling electronics & rewiring
Carly
Scott Featherman, Foster Schucker & Carly reinstalling electronics & rewiring
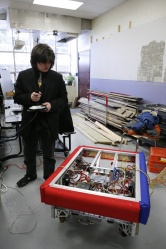
Paul - the suit does make the man
Carly, Foster Schucker, Scott Featherman & David Moyer


Saturday February 13, 2010

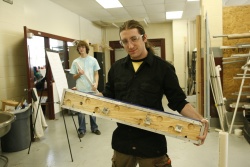
Bumper weigh-in
we're light!
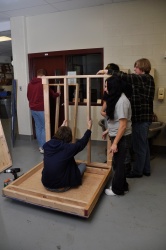
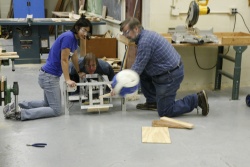
Cole, Siri & Jen installing the kicker on the proxy chassis
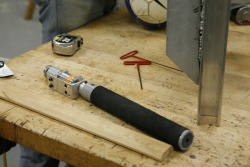
Camera mount (prototype)
CAD team - Clem McKown, Andrew, Sasha & David Moyer
Carly & Jen cutting 80/20 for the Operator Interface
Matt & Douglas cut parts for the screwdriver
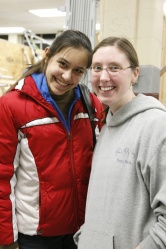
Melanie & Julie Bachmann
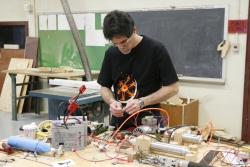
Gary Deaver running the possessor motor
Douglas
John Weissman, Gary Deaver & Clem McKown
Mike Rizzo assembling the screwdriver skeleton
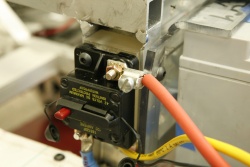
Main disconnect mount (PMMA block)
Scott Featherman wiring the pneumatic testbed
Siri, Gary Deaver & Mark Morun test firing the kicker
Scott Featherman with DEWBOT VI
Carly holding the wheel calibration guide against the pivots
Ben R calibrating wheels with the potentiometers

Gary Deaver & Mark Morun mounting the possessor
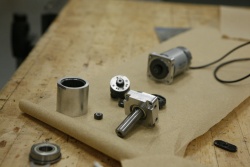
Bainbots P60 gearbox apart for a stage reduction
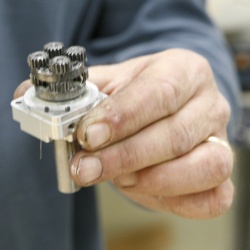
Bainbots 3-stage gearbox coming together
Douglas & David Moyer cutting steel for the kicker release
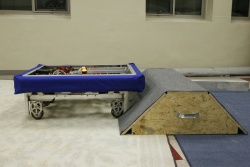
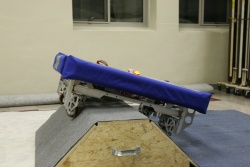
Bump sequence 1/11
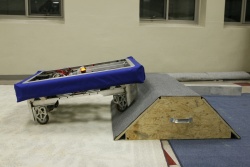
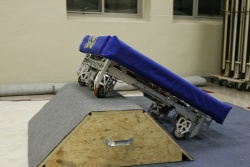
Bump sequence 2/11
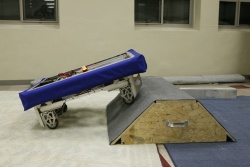
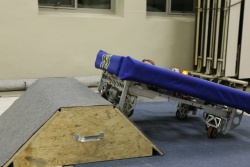
Bump sequence 3/11
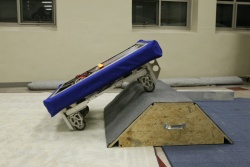
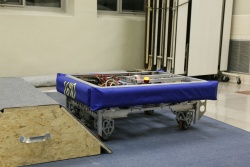
Bump sequence 4/11
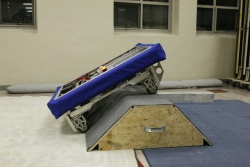
Bump sequence 5/11
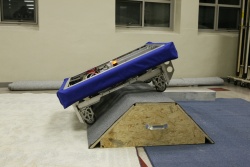
Bump sequence 6/11
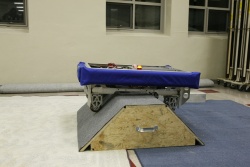
Bump sequence 7/11
Bump sequence 8/11
Bump sequence 9/11
Bump sequence 10/11
Bump sequence 11/11


