Difference between revisions of "DEWBOT II Week Five Build Season Photo Gallery"
MaiKangWei (talk | contribs) |
MaiKangWei (talk | contribs) |
||
| (6 intermediate revisions by the same user not shown) | |||
| Line 2: | Line 2: | ||
Image:DB2_hopper_mounted_060205_csm.jpg|Hopper Mounted | Image:DB2_hopper_mounted_060205_csm.jpg|Hopper Mounted | ||
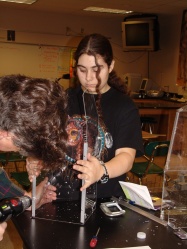
Image:DB2_Sabatino_060205_csm.jpg|Paul Sabatino | Image:DB2_Sabatino_060205_csm.jpg|Paul Sabatino | ||
| − | Image:DB2_weight_analysis_060205_csm.jpg|weight analysis | + | Image:DB2_weight_analysis_060205_csm.jpg|weight analysis ''- note clock'' |
Image:DB2_Sabatino_&_Cassie_060205_csm.jpg|Paul Sabatino & Cassie marking drilling points for bumper mounts | Image:DB2_Sabatino_&_Cassie_060205_csm.jpg|Paul Sabatino & Cassie marking drilling points for bumper mounts | ||
Image:DB2_McKown_autocad_060205_csm.jpg|Clem McKown using AutoCAD to design shooter mount points | Image:DB2_McKown_autocad_060205_csm.jpg|Clem McKown using AutoCAD to design shooter mount points | ||
| Line 21: | Line 21: | ||
Image:DB2_Ben_060207_csm.jpg|Ben | Image:DB2_Ben_060207_csm.jpg|Ben | ||
Image:DB2_McKown_Heather_feed_chute_060207_csm.jpg|Clem McKown & Heather building shooter feed chute | Image:DB2_McKown_Heather_feed_chute_060207_csm.jpg|Clem McKown & Heather building shooter feed chute | ||
| − | Image: | + | Image:DB2_McKown_Amber_feed_chute.jpg|Clem McKown & Amber assembling shooter feed chute |
| − | Image: | + | Image:DB2_with_hooper_&_feed_chute_060207_csm.jpg|Hopper & feed chute installed |
Image:DB2_shooter_installation_060208_csm.jpg|Shooter installation | Image:DB2_shooter_installation_060208_csm.jpg|Shooter installation | ||
Image:DB2_Sabatino_robot_060208_csm.jpg|Paul Sabatino with the robot | Image:DB2_Sabatino_robot_060208_csm.jpg|Paul Sabatino with the robot | ||
| Line 31: | Line 31: | ||
Image:DB2_shooter_feed_060210_csm.jpg|Shooter feed with ''"ski jump"'' | Image:DB2_shooter_feed_060210_csm.jpg|Shooter feed with ''"ski jump"'' | ||
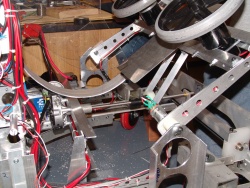
Image:DB2_shooter_060210_csm.jpg|Shooter | Image:DB2_shooter_060210_csm.jpg|Shooter | ||
| − | Image:DB2_full_hopper_060210_csm.jpg|Hopper loaded & 2 | + | Image:DB2_full_hopper_060210_csm.jpg|Hopper loaded & 2 balls in the lift |
| − | Image: | + | Image:DB2_the_seedy_underside_060210_csm.jpg|Ken Owens |
| + | Image:DB2_limit_switches_060211_csm.jpg|Shooter elevation limit switches | ||
| + | Image:DB2_Steven_060211_csm.jpg|Steven | ||
| + | Image:DB2_upper_limit_060211_csm.jpg|Shooter at upper elevation limit | ||
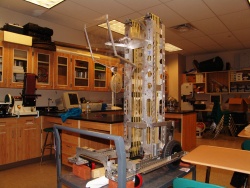
| + | Image:DB2_mechanically_complete_060211_csm.jpg|Mechanically completed | ||
| + | Image:DB2_Stumpo_programming_060211_csm.jpg|Frank Stumpo programmong | ||
| + | Image:DB2_drive_detail_060211_csm.jpg|Drive detail | ||
</gallery> | </gallery> | ||
---- | ---- | ||
| − | [[Category:Robot]][[Category:DEWBOT II]] | + | [[Category:Robot]][[Category:DEWBOT II]][[Category:Photo Galleries]] |
Latest revision as of 01:17, 25 February 2010
Hopper Mounted
Paul Sabatino
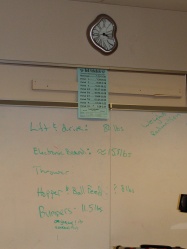
weight analysis - note clock
Paul Sabatino & Cassie marking drilling points for bumper mounts
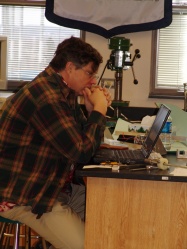
Clem McKown using AutoCAD to design shooter mount points
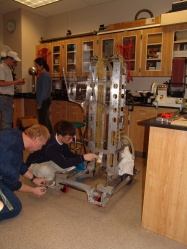
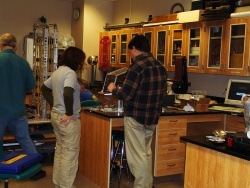
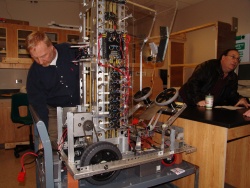
DEWBOT on the cart
Ed Faller with Amber & Heather
Ernest Schwenk lightweighting the shipping crate in the Team 1640 tradition
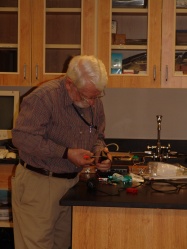
Amber finishing battery box
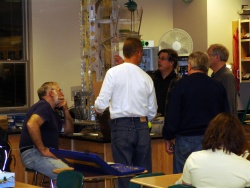
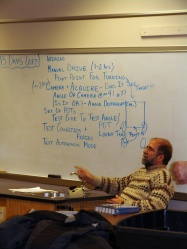
Mentor Meeting
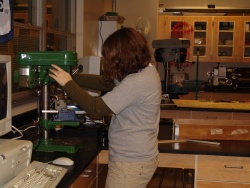
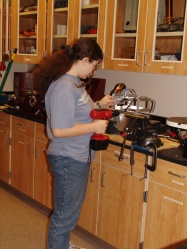
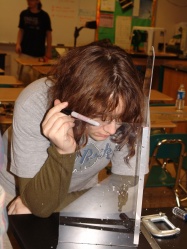
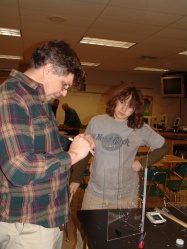
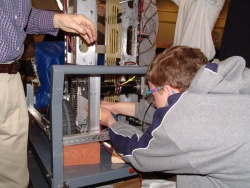
Heather drilling
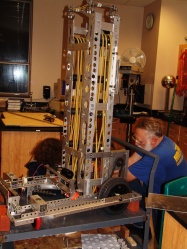
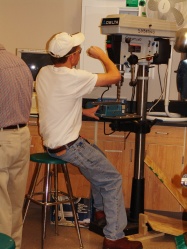
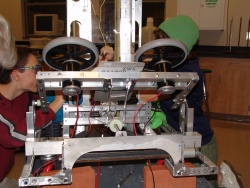
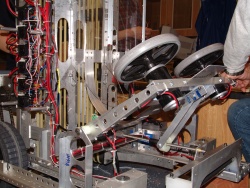
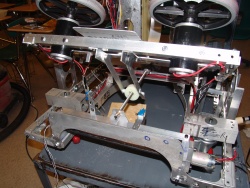
Shooter elevation drive mounted on robot
Mike Coll & plan

Al Koenig
Silas Dillman
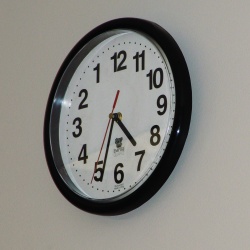
Why are there no normal clocks here?
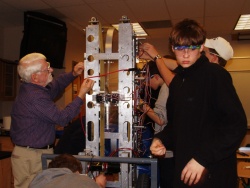
Al Koenig & John
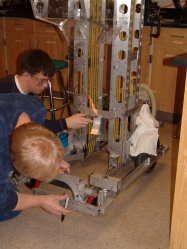
Heather & Clem McKown with hopper
Heather works on feed chute
Ben
Clem McKown & Heather building shooter feed chute
Clem McKown & Amber assembling shooter feed chute
Hopper & feed chute installed
Shooter installation
Paul Sabatino with the robot
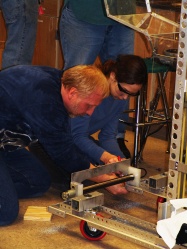
Paul Sabatino & Frank Stumpo
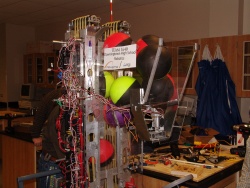
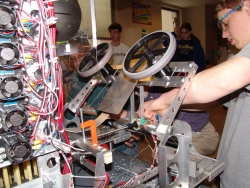
Wiring
Mike wiring
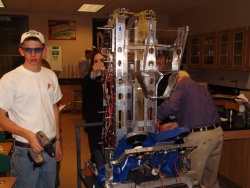
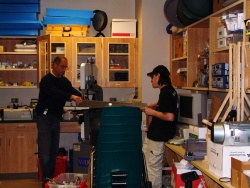
Ben, Cassie & Silas Dillman
Shooter feed with "ski jump"
Shooter
Hopper loaded & 2 balls in the lift
Ken Owens
Shooter elevation limit switches
Steven
Shooter at upper elevation limit

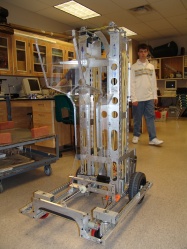
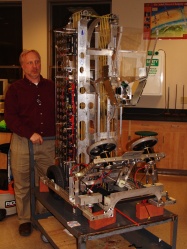
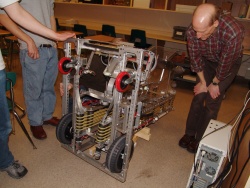
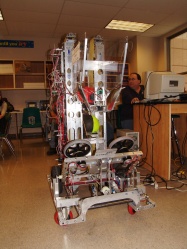
Mechanically completed
Frank Stumpo programmong
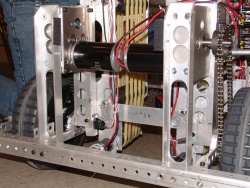
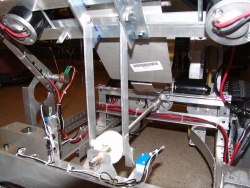
Drive detail


