DEWBOT IX Programming
Mentors: Julie Christopher, Frank San Miguel
Lead Programmer: Michael M
Assistant Lead Programmer: DJ R
Qualified Programmers:
- Kevin S
- Patrick D
- Sarah S
Trainee Programmers:
- Hannah T
- Marina SM
- Rachael T
- Rohan S
Contents
Programming Projects
| Required Systems | Comprehensive Testing Mode |
|---|---|
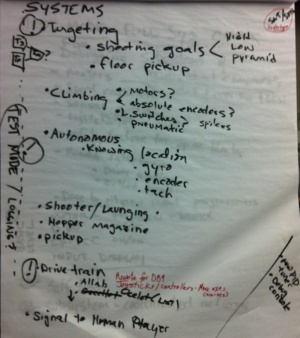
Main systems
|
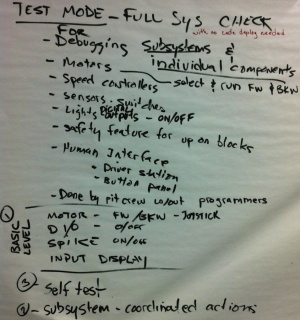
Requirements
|
Programming Team Information
Some information about Network Tables
2013 FRC Control System resources, including required software updates
Programming Certification Pre-Test for 2013 Season
Programming Language
FRC LabVIEW software has been used for the past three seasons (2010 - 2012).
C++ and Java are also supported by FRC and could be used if the programming team decides to do so.
Code Repository
For the past two seasons (2011 and 2012), the programming team has used Mercurial source control management and Bitbucket for the code repository. Having code in a repository allows the team to share their code even when they do not see each other in person. It also allows the student lead to manage and incorporate code from the rest of the team into the main robot code project.
GitHub is under consideration for the code repository for the 2013 season.
Programmer Training Resources
- Introduction to Programming FRC Robots
- Fall 2012 State Machine Exercise
- National Instruments' LabVIEW Tutorials
- 2011/2012 Router Configuration
2013 Control System
Modules
In Week 2, we brainstormed the software module breakdown:
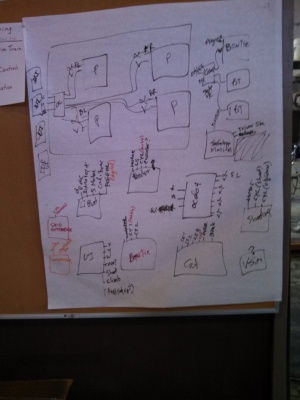
- Caterpillar
- Caterpillar front leg (1)
- Caterpillar back legs (2)
- Skid Extender
- Drive
- pivot drive (4)
- Ocelot
- UI (User Interface)
- Shooter
- Feeder
- Compressor
Caterpillar
| Subsytem | Name | Type | Qty | Num I/O | Note |
|---|---|---|---|---|---|
| Caterpillar Front Leg | Foot | Solenoid, Double Acting | 1 | 2 | Up/Down, default down |
| Caterpillar Back Leg | Foot | Spring | 2 | 2 | default down |
| Caterpillar Leg | Claw | Solenoid, Single Acting | 3 | 3 | Grab/Release, default Grab |
| Caterpillar | Skid Extender | Solenoid, Single Acting | 1 | 1 | Extend/Retract, default Retract |
| Caterpillar | Position Sensor | Limit Switch | 4 | 4 | Placed before each leg assembly, and one behind the rear leg assembly |
User story: driving up the pole
- When the robot is turned on, the foot is down and the claw is Grab.
- Drive up to the pole, using camera to align the pole with the first caterpillar leg.
- Drive up the pole.
- Engage foot 0.
- Press the climb button and hold it.
- As long as the climb button is held, the robot will climb until it reaches the top.
- If the driver lets go of the climb button, the robot will stop.
- If the operator hits an emergency override button the robot will stop.
User story: manual intervention
- Once the robot gets to the top of the pole, the driver will manually control the robot to get to the optimum scoring position.
- If the robot gets unaligned during the ascent, the driver will be able to control the the skid extender, motor, and three legs.
- We may give the foot and leg control to the drivers during the manual intervention. This will depend on the meetings we have with the drive team.
Leg Assembly
Shooter
User Stories
- The motor can be turned on or off, and the velocity of the motor at its shooting speed is always the same.
- The motor takes time to reach its correct shooting speed.
- At the moment, no motor reversal is planned.
- Press the trigger, and it shoots the Frisbee.
- If you keep the trigger pressed, it will push out all of the Frisbees in the magazine as fast as possible (as it takes the motor to speed up again).
- If you don't keep the trigger pressed, but press it again before the motor speeds up to the correct speed, it will not shoot until the motor speeds up.
- If you set the elevation up or down, the shooter platform's elevation changes to each predetermined height.
