Difference between revisions of "DEWBOT VI Week Three Build Season Photo Gallery"
MaiKangWei (talk | contribs) |
MaiKangWei (talk | contribs) (→Sunday January 24, 2010) |
||
| (8 intermediate revisions by 3 users not shown) | |||
| Line 1: | Line 1: | ||
| + | ==Sunday January 24, 2010== | ||
<gallery widths=250 heights=250 perrow=3> | <gallery widths=250 heights=250 perrow=3> | ||
Image:DB6_frame_pieces_on_template_100124_csm.jpg|Frame pieces clamped to template in preparation for welding | Image:DB6_frame_pieces_on_template_100124_csm.jpg|Frame pieces clamped to template in preparation for welding | ||
| Line 10: | Line 11: | ||
Image:DB6_Rizzo_with_gussett_template_100124_csm.jpg|Mike Rizzo with first gussett template | Image:DB6_Rizzo_with_gussett_template_100124_csm.jpg|Mike Rizzo with first gussett template | ||
Image:DB6_Carly_Erin_breaking_chain_100124_csm.jpg|Carly & Erin breaking chain for the pivot drive | Image:DB6_Carly_Erin_breaking_chain_100124_csm.jpg|Carly & Erin breaking chain for the pivot drive | ||
| − | Image:DB6_Paul_Erin_Carly_the_chain_gang_100124_csm.jpg|Paul, Erin & Carly - the chain gang | + | Image:DB6_Paul_Erin_Carly_the_chain_gang_100124_csm.jpg|Paul, Erin & Carly - the chain gang |
Image:DB6_steering_motor_with_encoder_100124_csm_1.jpg|Steering motor with drive sprocket & magnetic encoder mounted | Image:DB6_steering_motor_with_encoder_100124_csm_1.jpg|Steering motor with drive sprocket & magnetic encoder mounted | ||
Image:DB6_steering_motor_with_encoder_100124_csm_2.jpg|Steering motor with drive sprocket & magnetic encoder mounted | Image:DB6_steering_motor_with_encoder_100124_csm_2.jpg|Steering motor with drive sprocket & magnetic encoder mounted | ||
| Line 16: | Line 17: | ||
Image:DB6_Magnetic_Encoder_Graph_100124_pk.jpg|Output of steering motor encoder | Image:DB6_Magnetic_Encoder_Graph_100124_pk.jpg|Output of steering motor encoder | ||
Image:DB6_frame_coming_together_100124_csm.jpg|Chassis frame coming together | Image:DB6_frame_coming_together_100124_csm.jpg|Chassis frame coming together | ||
| − | Image: | + | Image:DB6_frame_x_gussets_100124_csm.jpg|Chassis frame without any gussetts |
Image:DB6_frame_wt_100124_csm.jpg|Frame weight with Ball Dam gussetts only | Image:DB6_frame_wt_100124_csm.jpg|Frame weight with Ball Dam gussetts only | ||
Image:DB6_frame_on_scale_100124_csm.jpg|Frame on scale | Image:DB6_frame_on_scale_100124_csm.jpg|Frame on scale | ||
| − | Image: | + | </gallery> |
| + | |||
| + | ==Monday January 25, 2010== | ||
| + | <gallery widths=250 heights=250 perrow=3> | ||
| + | </gallery> | ||
| + | ==Tuesday January 26, 2010== | ||
| + | <gallery widths=250 heights=250 perrow=3> | ||
| + | Image:DB6_strategy_review_meeting_100126_csm.jpg|Strategy review and confirmation | ||
| + | </gallery> | ||
| + | ==Wednesday January 27, 2010== | ||
| + | <gallery widths=250 heights=250 perrow=3> | ||
| + | </gallery> | ||
| + | ==Thursday January 28, 2010== | ||
| + | <gallery widths=250 heights=250 perrow=3> | ||
| + | </gallery> | ||
| + | ==Friday January 29, 2010== | ||
| + | <gallery widths=250 heights=250 perrow=3> | ||
| + | </gallery> | ||
| + | ==Saturday January 30, 2010== | ||
| + | <gallery widths=250 heights=250 perrow=3> | ||
| + | Image:DB6_Carly_tapping_100130_csm.jpg|Carly tapping pivot top | ||
| + | Image:DB6_Michael_tapping_100130_csm.jpg|Michael tapping pivot top | ||
| + | Image:DB6_Jen_drilling_rivet_holes_100130_csm_1.jpg|Jen carefully drilling rivet holes in Pivot Plate Top | ||
| + | Image:DB6_Matt_welding_cross_brace_100130_csm.jpg|Matt welding in new center transverse before cutting out the old one | ||
| + | Image:DB6_Matt_welding_kicker_mount_100130_csm.jpg|Matt welding the kicker mount in place | ||
| + | Image:DB6_Jen_drilling_rivet_holes_100130_csm_2.jpg|Jen drilling rivet holes in a second Pivot Plate Top | ||
| + | Image:DB6_Rizzo_Jen_Carly_100130_csm.jpg|Busy shop - Mike Rizzo, Jen & Carly | ||
| + | Image:DB6_Douglas_chasing_bearing_inset_100130_csm.jpg|Douglas chasing a bearing inset with a drill bit | ||
| + | Image:DB6_DJ_with_pivot_top_100130_csm.jpg|DJ with pivot top | ||
| + | Image:DB6_Carly_cutting_pivot_braces_100130_csm.jpg|Carly cutting pivot braces | ||
| + | Image:DB6_Rizzo_drilling_Al_for_bumpers_100130_csm.jpg|Mike Rizzo drilling Al angle for bumpers | ||
| + | Image:DB6_Deaver_Douglas_bearing_fit_100130_csm.jpg|Gary Deaver and Douglas check a roller bearing's fit | ||
| + | Image:DB6_Carly_marking_plates_100130_csm.jpg|Carly marking plates | ||
| + | Image:DB6_days_plan_100130_csm.jpg|The day's plan | ||
| + | Image:DB6_Michail_pivot_top_100130_csm.jpg|Michael cleaning a pivot top after tapping holes | ||
| + | Image:DB6_Cole_Rizzo_bumpers_100130_csm.jpg|Cole & Mike Rizzo building bumpers | ||
| + | Image:DB6_Matt_Siri_welding_frame_100130_csm.jpg|Matt & Siri welding the frame front gussetts | ||
| + | Image:DB6_Moyer_CAD_100130_csm.jpg|David Moyer using Inventor to design kicker release | ||
| + | Image:DB6_Siri_McKown_aligning_plates_100130_csm.jpg|Siri and Clem McKown aligning pivot plates | ||
| + | Image:DB6_Carly_Rizzo_bumpers_100130_csm.jpg|Carly & Mike Rizzo build bumpers | ||
| + | Image:DB6_Cole_100130_csm.jpg|Cole cutting clearance holes in pivot plates | ||
| + | Image:DB6_Douglas_pivot_top_100130_csm.jpg|Douglas working pivot assembly | ||
| + | Image:DB6_Michael_100130_csm.jpg|Michael | ||
| + | Image:DB6_Kenneth_100130_csm.jpg|Kenneth | ||
| + | Image:DB6_Dinesh_Zain_100130_csm.jpg|Dinesh & Zain | ||
| + | Image:DB6_Carly_Jen_Rizzo_bumpers_100130_csm.jpg|Carly, Jen and Mike Rizzo on bumper detail | ||
| + | Image:DB6_side_plates_100130_csm.jpg|pivot side plates with bearings pressed in | ||
| + | Image:DB6_pivot_tops_100130_csm.jpg|pivot tops with pivot tubes pressed in and secured with epoxy and set screws | ||
| + | Image:DB6_pivot_top_100130_csm.jpg|pivot top detail (roller bearing in place) | ||
| + | Image:DB6_Rizzo_bumper_demo_100130_csm_1.jpg|Mike Rizzo tests the bumper attachment | ||
| + | Image:DB6_Rizzo_bumper_demo_100130_csm_2.jpg|Bumpers - neat, symmetric and easy to attach & remove | ||
| + | Image:DB6_easy_bumper_access_100130_csm_1.jpg|detail view of bumper attachment point (front) | ||
| + | Image:DB6_easy_bumper_access_100130_csm_2.jpg|detail view of bumper attachment point (aft) | ||
| + | Image:DB6_Siri_grinding_100130_csm.jpg|Siri grinding the new frame welds | ||
| + | Image:DB6_Deaver_persuader_100130_csm.jpg|Gary Deaver brings out ''"The persuader"'' for the final roller bearing press | ||
| + | Image:DB6_bearing_persuaded_100130_csm.jpg|bearing successfully persuaded | ||
| + | Image:DB6_DJ_100130_csm.jpg|DJ | ||
| + | Image:DB6_Carly_marking_frame_100130_csm.jpg|Carly marking frame for compressor mount holes | ||
| + | Image:DB6_Carly_Siri_100130_csm.jpg|Carly & Siri | ||
| + | Image:DB6_partially_assembled_pivots_100130_csm.jpg|(6) partially assembled pivots (2 spares) | ||
</gallery> | </gallery> | ||
---- | ---- | ||
| − | [[Category:Robot]][[Category:DEWBOT VI]][[Category:DEWBOT VI Build]] | + | [[Category:Robot]][[Category:DEWBOT VI]][[Category:DEWBOT VI Build]][[Category:Photo Galleries]] |
Latest revision as of 12:25, 15 September 2012
Contents
Sunday January 24, 2010
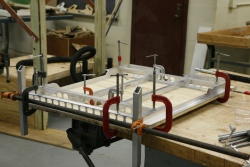
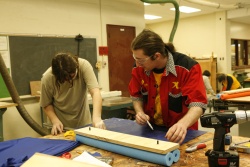
Frame pieces clamped to template in preparation for welding
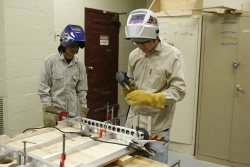
Siri and Matt ready to start welding
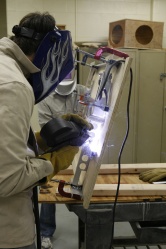
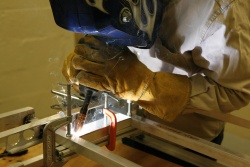
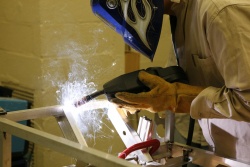
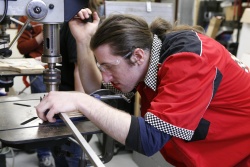
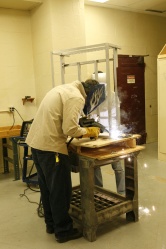
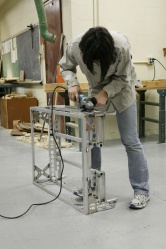
Matt welding the chassis frame
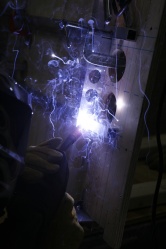
Matt welding the chassis frame
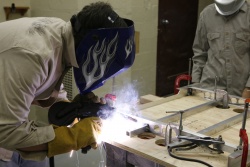
Matt welding the chassis frame
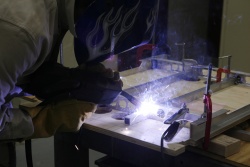
Matt welding the chassis frame
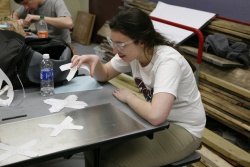
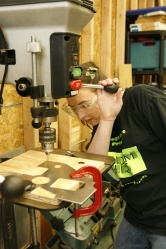
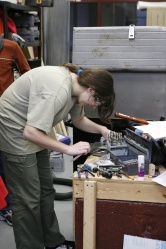
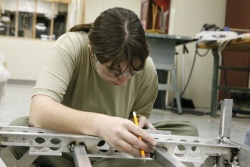
Jen laying out frame gussetts for cutting
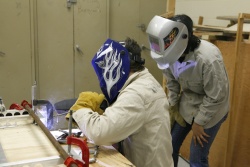
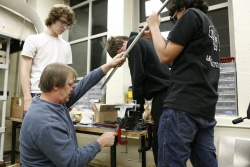
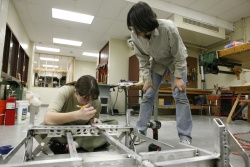
Matt welding frame with Siri mentoring
Mike Rizzo with first gussett template
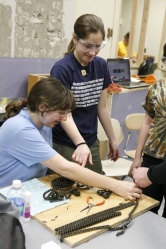
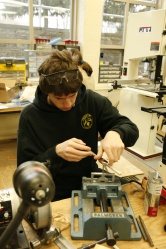
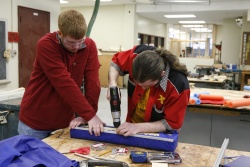
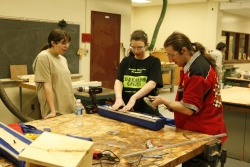
Carly & Erin breaking chain for the pivot drive
Paul, Erin & Carly - the chain gang
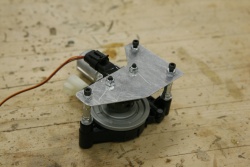
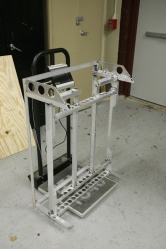
Steering motor with drive sprocket & magnetic encoder mounted
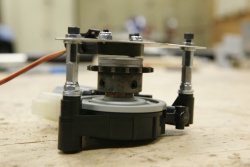
Steering motor with drive sprocket & magnetic encoder mounted
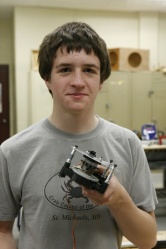
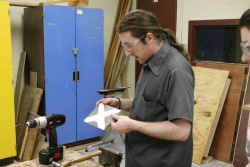
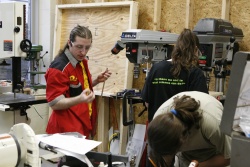
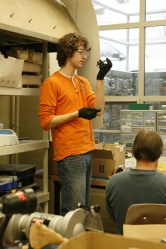
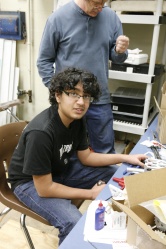
Michael and his special motor
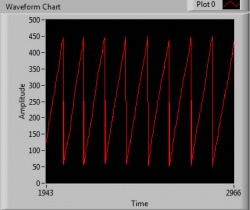
Output of steering motor encoder
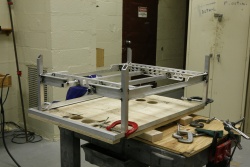
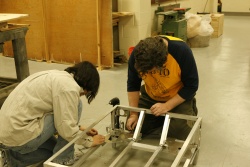
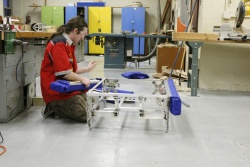
Chassis frame coming together
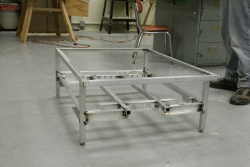
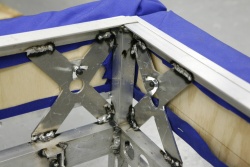
Chassis frame without any gussetts
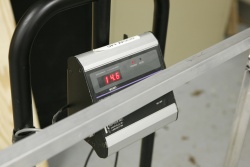
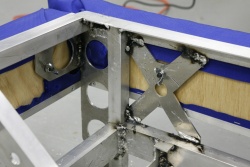
Frame weight with Ball Dam gussetts only
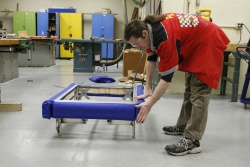
Frame on scale


Monday January 25, 2010
Tuesday January 26, 2010

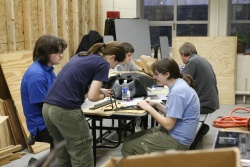
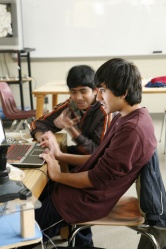
Strategy review and confirmation

Wednesday January 27, 2010
Thursday January 28, 2010
Friday January 29, 2010
Saturday January 30, 2010
Carly tapping pivot top
Michael tapping pivot top
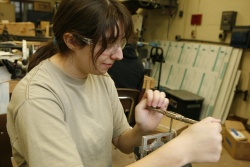
Jen carefully drilling rivet holes in Pivot Plate Top
Matt welding in new center transverse before cutting out the old one
Matt welding the kicker mount in place

Jen drilling rivet holes in a second Pivot Plate Top
Busy shop - Mike Rizzo, Jen & Carly
Douglas chasing a bearing inset with a drill bit
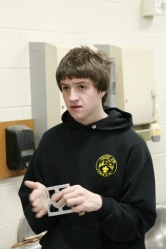
DJ with pivot top
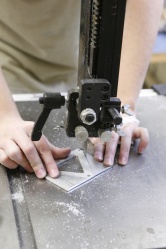
Carly cutting pivot braces
Mike Rizzo drilling Al angle for bumpers

Gary Deaver and Douglas check a roller bearing's fit
Carly marking plates
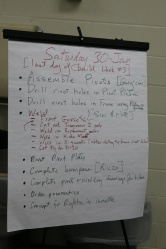
The day's plan
Michael cleaning a pivot top after tapping holes
Cole & Mike Rizzo building bumpers
Matt & Siri welding the frame front gussetts
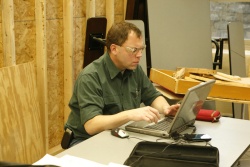
David Moyer using Inventor to design kicker release
Siri and Clem McKown aligning pivot plates
Carly & Mike Rizzo build bumpers

Cole cutting clearance holes in pivot plates
Douglas working pivot assembly
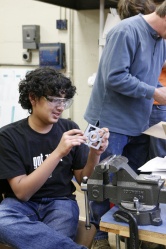
Michael

Kenneth
Dinesh & Zain
Carly, Jen and Mike Rizzo on bumper detail
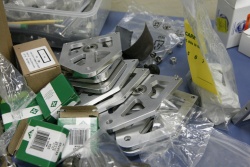
pivot side plates with bearings pressed in
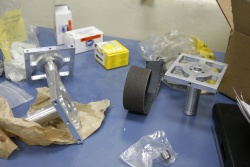
pivot tops with pivot tubes pressed in and secured with epoxy and set screws
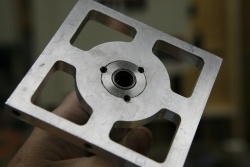
pivot top detail (roller bearing in place)
Mike Rizzo tests the bumper attachment
Bumpers - neat, symmetric and easy to attach & remove
detail view of bumper attachment point (front)
detail view of bumper attachment point (aft)
Siri grinding the new frame welds
Gary Deaver brings out "The persuader" for the final roller bearing press
bearing successfully persuaded
DJ
Carly marking frame for compressor mount holes
Carly & Siri
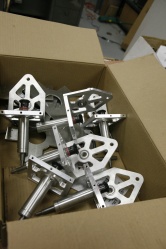
(6) partially assembled pivots (2 spares)


