Difference between revisions of "DEWBOT XIII Indiana Robotics Invitational"
MaiKangWei (talk | contribs) (→Air Force Museum Photo Gallery) |
MaiKangWei (talk | contribs) (→Air Force Museum Photo Gallery) |
||
| Line 50: | Line 50: | ||
<gallery widths=250 heights=250 perrow=3> | <gallery widths=250 heights=250 perrow=3> | ||
image:Air_Force_Museum_2017-1.jpg|Wright 1909 Military Flyer - Early Years Gallery | image:Air_Force_Museum_2017-1.jpg|Wright 1909 Military Flyer - Early Years Gallery | ||
| − | image:Air_Force_Museum_2017-2.jpg| | + | image:Air_Force_Museum_2017-2.jpg|Nieuport 28 in US livery. Rejected by French Aviation in favor of the superior SPAD XIII, the Nieuport 28 became the first fighter aircraft to equip US squadrons. - Early Years Gallery |
| − | image:Air_Force_Museum_2017-3.jpg| | + | image:Air_Force_Museum_2017-3.jpg|SPAD XIII C.1 - also in US colors (Eddie Rickenbacker's colors) - Early Years Gallery |
| − | image:Air_Force_Museum_2017-4.jpg| | + | image:Air_Force_Museum_2017-4.jpg|Fokker D.VII - generally considered (then and now) the most capable all-around fighter of WWI - Early Years Gallery |
| − | image:Air_Force_Museum_2017-5.jpg| | + | image:Air_Force_Museum_2017-5.jpg|Martin B-10 - Early Years Gallery |
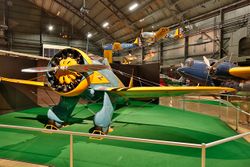
| − | image:Air_Force_Museum_2017-6.jpg| | + | image:Air_Force_Museum_2017-6.jpg|Boeing P-26A Peashooter - First all-metal production fighter and the first monoplane fighter to enter service with the USAAC (US Army Air Corps) - Early Years Gallery |
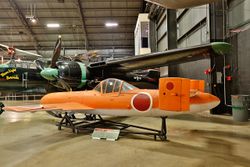
| − | image:Air_Force_Museum_2017-7.jpg| | + | image:Air_Force_Museum_2017-7.jpg|Yokosuka MXY7-K1 Ohka - Kamikazi rocket bomb (trainer) - World War II Gallery |
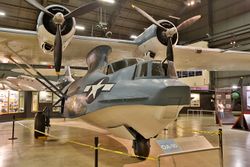
| − | image:Air_Force_Museum_2017-8.jpg| | + | image:Air_Force_Museum_2017-8.jpg|Consolidated OA-10 Catalina - World War II Gallery |
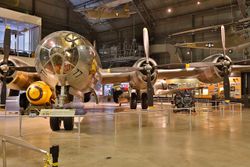
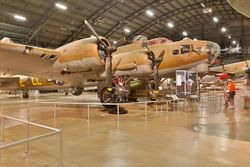
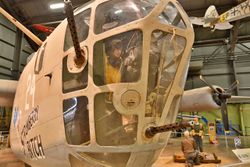
| − | image:Air_Force_Museum_2017-9.jpg| | + | image:Air_Force_Museum_2017-9.jpg|Boeing B-29 Superfortress - World War II Gallery |
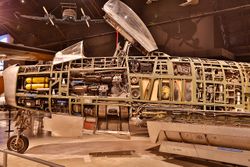
| − | image:Air_Force_Museum_2017-10.jpg| | + | image:Air_Force_Museum_2017-10.jpg|Messerschmitt Me 262A Schwalbe - World War II Gallery |
| − | image:Air_Force_Museum_2017-11.jpg| | + | image:Air_Force_Museum_2017-11.jpg|V-2 rocket - World War II Gallery |
| − | image:Air_Force_Museum_2017-12.jpg| | + | image:Air_Force_Museum_2017-12.jpg|Boeing B-17G Flying Fortress - World War II Gallery |
| − | image:Air_Force_Museum_2017-13.jpg| | + | image:Air_Force_Museum_2017-13.jpg|Martin B-26G Marauder - World War II Gallery |
| − | image:Air_Force_Museum_2017-14.jpg| | + | image:Air_Force_Museum_2017-14.jpg|Lockheed P-38L Lightning - World War II Gallery |
| − | image:Air_Force_Museum_2017-15.jpg| | + | image:Air_Force_Museum_2017-15.jpg|Consolidated B-24D Liberator - World War II Gallery |
| − | image:Air_Force_Museum_2017-16.jpg| | + | image:Air_Force_Museum_2017-16.jpg|Mitsubishi A6M2 Zero - World War II Gallery |
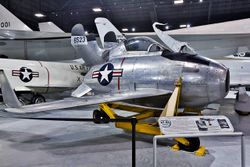
| − | image:Air_Force_Museum_2017-17.jpg| | + | image:Air_Force_Museum_2017-17.jpg|North American F-86H Sabre - skinned - Cold War Gallery |
| − | image:Air_Force_Museum_2017-18.jpg| | + | image:Air_Force_Museum_2017-18.jpg|Convair B-58A Hustler - Cold War Gallery |
| − | image:Air_Force_Museum_2017-19.jpg| | + | image:Air_Force_Museum_2017-19.jpg|Convair B-36J Peacemaker - Cold War Gallery |
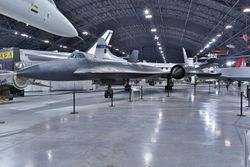
| − | image:Air_Force_Museum_2017-20.jpg| | + | image:Air_Force_Museum_2017-20.jpg|Martin Marietta X-24B - Lifting body research aircraft. XB-70 Valkyrie in background. - Research & Development Gallery |
| − | image:Air_Force_Museum_2017-21.jpg| | + | image:Air_Force_Museum_2017-21.jpg|Tail end of North American XB-70 Valkyrie. Bell P-59B Airacomet in the foreground - Research & Development Gallery |
| − | image:Air_Force_Museum_2017-22.jpg| | + | image:Air_Force_Museum_2017-22.jpg|McDonnell XF-85 Goblin. Intended to provide carry-on (parasite) fighter protection to B-36 bombers. Reconnecting to the mother-ship was problematic with >50% failure rate. Never developed as aerial refueling proved more practical. - Research & Development Gallery |
| − | image:Air_Force_Museum_2017-23.jpg| | + | image:Air_Force_Museum_2017-23.jpg|Lockheed XF-12A. Inteceptor precursor to the SR-71 - Research & Development Gallery |
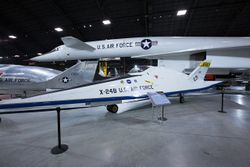
| − | image:Air_Force_Museum_2017-24.jpg| | + | image:Air_Force_Museum_2017-24.jpg|Ryan X-13 Vertijet - Research & Development Gallery |
| − | image:Air_Force_Museum_2017-25.jpg| | + | image:Air_Force_Museum_2017-25.jpg|Lockheed F-104C Starfighter - Cold War Gallery |
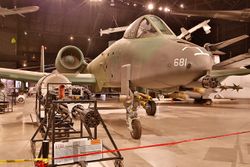
| − | image:Air_Force_Museum_2017-26.jpg| | + | image:Air_Force_Museum_2017-26.jpg|Fairchild Republic A-10A Thunderbolt II (a.k.a. Warthog) - Cold War Gallery |
| − | image:Air_Force_Museum_2017-27.jpg| | + | image:Air_Force_Museum_2017-27.jpg|Fairchild Republic A-10A Thunderbolt II (Warthog) - Cold War Gallery |
</gallery> | </gallery> | ||
Revision as of 23:23, 20 July 2017
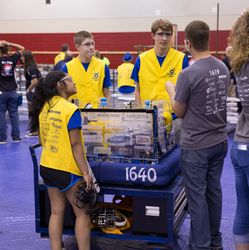
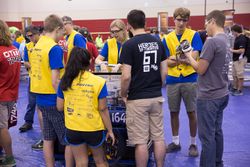
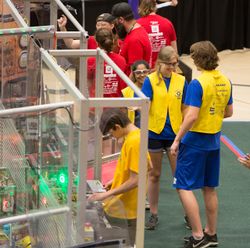
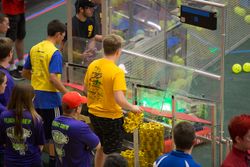
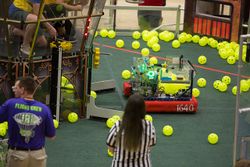
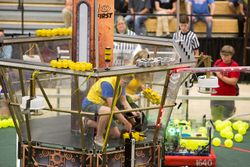
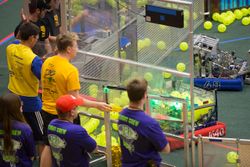
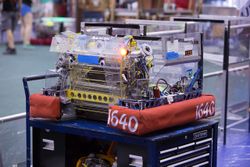
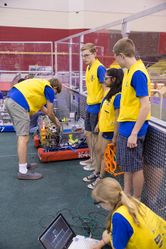
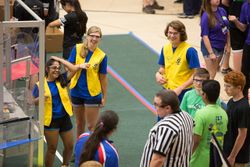
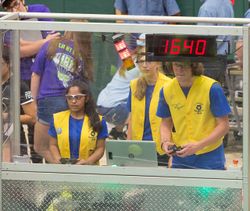
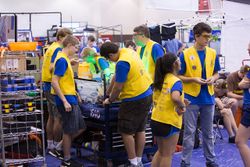
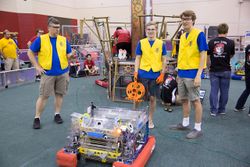
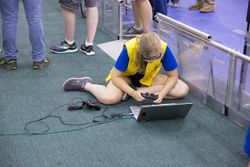
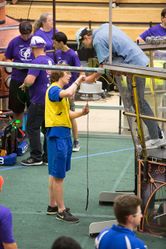
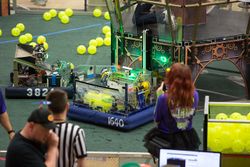
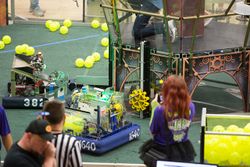
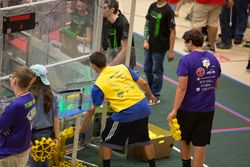
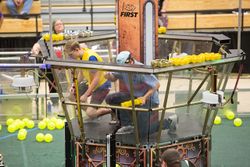
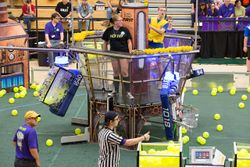
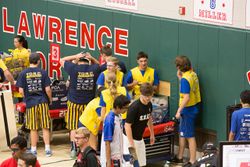
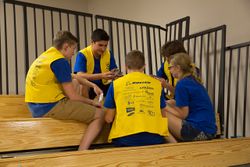
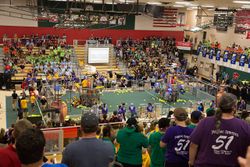
IRI Photo Gallery
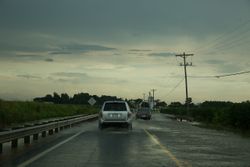
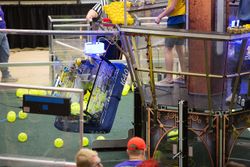
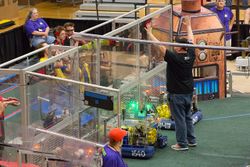
The road to IRI very was a wet one this year with serial thunderstorms, flooded roads, traffic jams and multiple diversions. Flooding is a matter of degree and this road, between Zanesville and Columbus OH, was not too flooded.
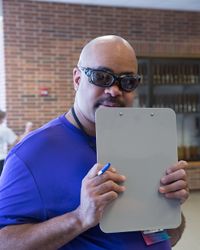
Come hell or high water (especially the latter), we made it to IRI load-in. Laura, Bobby, Josh & Matthew S.


Air Force Museum Photo Gallery
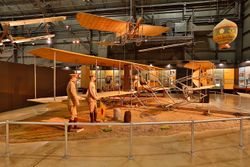
Wright 1909 Military Flyer - Early Years Gallery
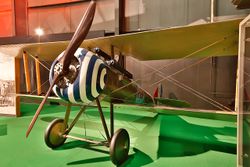
Nieuport 28 in US livery. Rejected by French Aviation in favor of the superior SPAD XIII, the Nieuport 28 became the first fighter aircraft to equip US squadrons. - Early Years Gallery
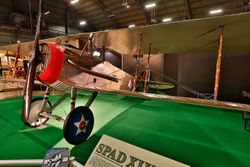
SPAD XIII C.1 - also in US colors (Eddie Rickenbacker's colors) - Early Years Gallery

Fokker D.VII - generally considered (then and now) the most capable all-around fighter of WWI - Early Years Gallery
Martin B-10 - Early Years Gallery
Boeing P-26A Peashooter - First all-metal production fighter and the first monoplane fighter to enter service with the USAAC (US Army Air Corps) - Early Years Gallery
Yokosuka MXY7-K1 Ohka - Kamikazi rocket bomb (trainer) - World War II Gallery
Consolidated OA-10 Catalina - World War II Gallery
Boeing B-29 Superfortress - World War II Gallery
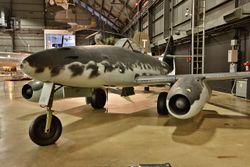
Messerschmitt Me 262A Schwalbe - World War II Gallery

V-2 rocket - World War II Gallery
Boeing B-17G Flying Fortress - World War II Gallery

Martin B-26G Marauder - World War II Gallery

Lockheed P-38L Lightning - World War II Gallery
Consolidated B-24D Liberator - World War II Gallery

Mitsubishi A6M2 Zero - World War II Gallery
North American F-86H Sabre - skinned - Cold War Gallery

Convair B-58A Hustler - Cold War Gallery
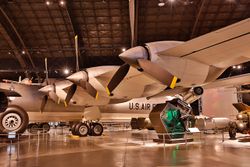
Convair B-36J Peacemaker - Cold War Gallery
Martin Marietta X-24B - Lifting body research aircraft. XB-70 Valkyrie in background. - Research & Development Gallery
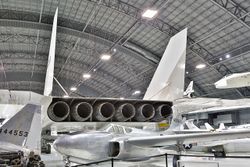
Tail end of North American XB-70 Valkyrie. Bell P-59B Airacomet in the foreground - Research & Development Gallery
McDonnell XF-85 Goblin. Intended to provide carry-on (parasite) fighter protection to B-36 bombers. Reconnecting to the mother-ship was problematic with >50% failure rate. Never developed as aerial refueling proved more practical. - Research & Development Gallery
Lockheed XF-12A. Inteceptor precursor to the SR-71 - Research & Development Gallery
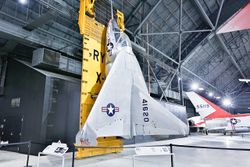
Ryan X-13 Vertijet - Research & Development Gallery
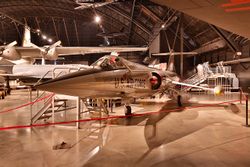
Lockheed F-104C Starfighter - Cold War Gallery
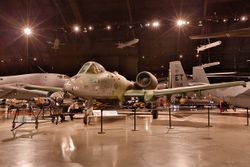
Fairchild Republic A-10A Thunderbolt II (a.k.a. Warthog) - Cold War Gallery
Fairchild Republic A-10A Thunderbolt II (Warthog) - Cold War Gallery


