Difference between revisions of "Stronghold Meeting - 30-Jan-2016"
From DEW Robotics
(→Mechanical) |
(→Mechanical) |
||
| Line 19: | Line 19: | ||
Final cut appears to have been .006"? | Final cut appears to have been .006"? | ||
'''Need to test the dial on the boring head, we assumed the dial indicated diameter, it appears to indicate radius.''' | '''Need to test the dial on the boring head, we assumed the dial indicated diameter, it appears to indicate radius.''' | ||
| + | '''Also check the dial indicates .001" or .0005"''' | ||
Other note: Measured bearing with micrometer, reading was 1.125 +-0.0005". | Other note: Measured bearing with micrometer, reading was 1.125 +-0.0005". | ||
Revision as of 14:48, 31 January 2016
Contents
Competition Season Meeting
| Meeting Date | Meeting Time | Location | Attendees |
|---|---|---|---|
| TCHS Brandywine |
CAD & Design
Mechanical
Bored the bearing holes on the track side plates. Before final pass, bore measured 1.117 with lo-budget calipers, bearing measured 1.123 +-.0005" We were aiming for 1.120, taking .003" indicated on the boring head dial with the final cut. Holes came out nearly the size of the bearing, maybe .0005" undersized. Final cut appears to have been .006"? Need to test the dial on the boring head, we assumed the dial indicated diameter, it appears to indicate radius. Also check the dial indicates .001" or .0005" Other note: Measured bearing with micrometer, reading was 1.125 +-0.0005".
Programming
Scouting Team
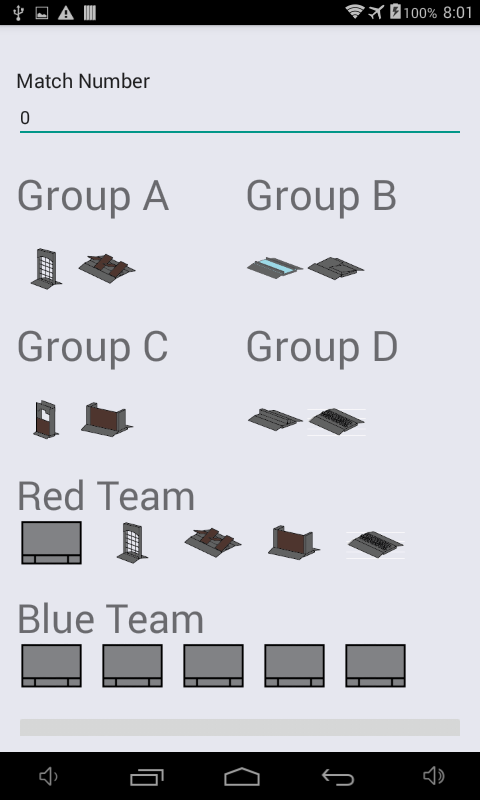
Today, the Scouting Team finished implementing the Drag and Drop feature for defining the position of obstacles.
Strategy
Field Elements
Other
| Recorded by: | Date: | Journal Editor: | Date: |
|---|---|---|---|
