Difference between revisions of "DEWBOT IX Week Three Build Season Photo Gallery"
MaiKangWei (talk | contribs) (→Sunday January 20, 2013) |
MaiKangWei (talk | contribs) (→Sunday January 20, 2013) |
||
| (9 intermediate revisions by the same user not shown) | |||
| Line 2: | Line 2: | ||
<gallery widths=250 heights=250 perrow=3> | <gallery widths=250 heights=250 perrow=3> | ||
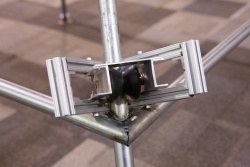
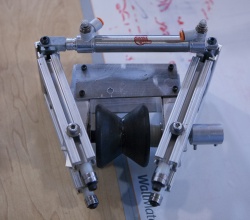
Image:2013_pivot.jpg|2013 pivot (SolidWorks rendering) | Image:2013_pivot.jpg|2013 pivot (SolidWorks rendering) | ||
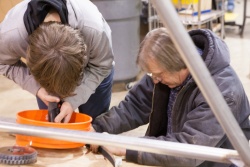
| − | Image:DB9_130120_csm-1.jpg| | + | Image:DB9_130120_csm-1.jpg|Brad & Patrick C press pinions onto steering motors |
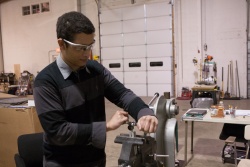
| + | Image:DB9_130120_csm-2.jpg|Pressing on a pinion | ||
| + | Image:DB9_130120_csm-3.jpg|Kira drilling countersinks | ||
| + | Image:DB9_130120_csm-4.jpg|Countersunk pivot braces | ||
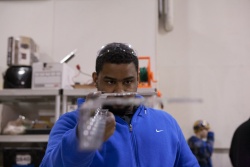
| + | Image:DB9_130120_csm-5.jpg|Kenneth | ||
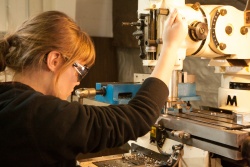
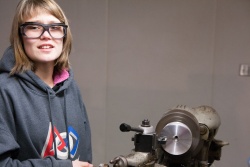
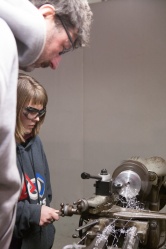
| + | Image:DB9_130120_csm-6.jpg|Molly on lathe | ||
| + | Image:DB9_130120_csm-7.jpg|Pivot module top plates with steering motors installed | ||
| + | Image:DB9_130120_csm-8.jpg|Pivot module bottom plates with bearings installed | ||
| + | Image:DB9_130120_csm-9.jpg|Douglas installing pyramid goal | ||
| + | Image:DB9_130120_csm-10.jpg|Kenneth | ||
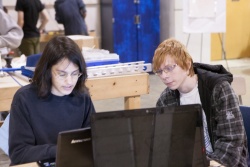
| + | Image:DB9_130120_csm-11.jpg|Hannah & Rachael | ||
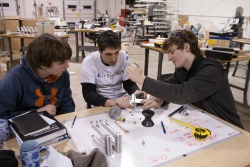
| + | Image:DB9_130120_csm-12.jpg|Shooter prototype | ||
| + | Image:DB9_130120_csm-13.jpg| | ||
| + | Image:DB9_130120_csm-14.jpg| | ||
| + | Image:DB9_130120_csm-15.jpg| | ||
| + | Image:DB9_130120_csm-16.jpg|Pyramid goal | ||
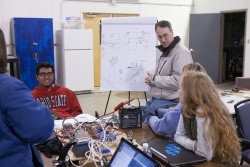
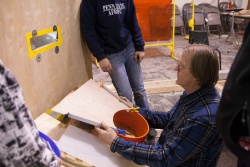
| + | Image:DB9_130120_csm-17.jpg|Frank's lesson | ||
| + | Image:DB9_130120_csm-18.jpg| | ||
| + | Image:DB9_130120_csm-19.jpg|Pivot module parts | ||
| + | Image:DB9_130120_csm-20.jpg|Bow-tie wheel for caterpillar drive | ||
</gallery> | </gallery> | ||
==Monday January 21, 2013== | ==Monday January 21, 2013== | ||
<gallery widths=250 heights=250 perrow=3> | <gallery widths=250 heights=250 perrow=3> | ||
| − | Image:DB9_130121_csm-1.jpg| | + | Image:DB9_130121_csm-1.jpg|Climber prototype (early) |
| + | Image:DB9_130121_csm-2.jpg|Chassis frame elements on the mill | ||
| + | Image:DB9_130121_csm-3.jpg|Tobi, Michael Geldart & Ian working on the climber | ||
| + | Image:DB9_130121_csm-4.jpg|Fedora survey | ||
| + | Image:DB9_130121_csm-5.jpg|work continuing on the climber | ||
| + | Image:DB9_130121_csm-6.jpg|Gary Deaver at the feeder station | ||
</gallery> | </gallery> | ||
==Tuesday January 22, 2013== | ==Tuesday January 22, 2013== | ||
<gallery widths=250 heights=250 perrow=3> | <gallery widths=250 heights=250 perrow=3> | ||
| − | Image:DB9_130122_csm-1.jpg| | + | Image:DB9_130122_csm-1.jpg|Molly |
| + | Image:DB9_130122_csm-2.jpg|Kevin | ||
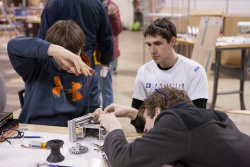
| + | Image:DB9_130122_csm-3.jpg|Kira, Rich Kulik & Patrick C working on shooter | ||
| + | Image:DB9_130122_csm-4.jpg|Session Linsey & Fatima | ||
| + | Image:DB9_130122_csm-5.jpg|Molly milling lightweighting holes into chassis frame elements | ||
| + | Image:chassis_frame_weldment.jpg|Chassis frame weldment (subject to some small changes) | ||
</gallery> | </gallery> | ||
==Wednesday January 23, 2013== | ==Wednesday January 23, 2013== | ||
<gallery widths=250 heights=250 perrow=3> | <gallery widths=250 heights=250 perrow=3> | ||
| − | Image:DB9_130123_csm-1.jpg| | + | Image:DB9_130123_csm-1.jpg|Kira |
| + | Image:DB9_130123_csm-2.jpg|Lucy | ||
| + | Image:DB9_130123_csm-3.jpg|Ben Kellom & Kira | ||
| + | Image:DB9_130123_csm-4.jpg|Brad | ||
| + | Image:DB9_130123_csm-5.jpg| | ||
| + | Image:DB9_130123_csm-6.jpg| | ||
| + | Image:DB9_130123_csm-7.jpg|Yahya | ||
| + | Image:DB9_130123_csm-8.jpg|Session Linsey examines frame elements | ||
| + | Image:DB9_130123_csm-9.jpg|Siri Maley demonstrates SolidWorks | ||
| + | Image:DB9_130123_csm-10.jpg|Tobi & Marina | ||
| + | Image:DB9_130123_csm-11.jpg|Keith Williams | ||
| + | Image:DB9_130123_csm-12.jpg|Keith Williams & Kira align Prime's chassis for welding | ||
</gallery> | </gallery> | ||
==Thursday January 24, 2013== | ==Thursday January 24, 2013== | ||
<gallery widths=250 heights=250 perrow=3> | <gallery widths=250 heights=250 perrow=3> | ||
| − | Image:DB9_130124_csm-1.jpg| | + | Image:DB9_130124_csm-1.jpg|Molly milling gussets |
| + | Image:DB9_130124_csm-2.jpg|Kira. Keith Williams & Brad | ||
| + | Image:DB9_130124_csm-3.jpg|Examining chassis frame | ||
| + | Image:DB9_130124_csm-4.jpg|Jack gluing Igus bushing into pivot module top plate | ||
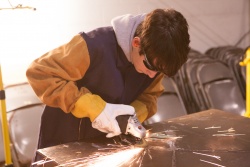
| + | Image:DB9_130124_csm-5.jpg|Brad welding | ||
| + | Image:DB9_130124_csm-6.jpg|Brad Certified! | ||
</gallery> | </gallery> | ||
==Saturday January 26, 2013== | ==Saturday January 26, 2013== | ||
<gallery widths=250 heights=250 perrow=3> | <gallery widths=250 heights=250 perrow=3> | ||
| − | Image:DB9_130126_csm-1.jpg| | + | Image:DB9_130126_csm-1.jpg|Keith Williams, Marina & Kira |
| + | Image:DB9_130126_csm-2.jpg|Climber prototype, with weights | ||
| + | Image:DB9_130126_csm-3.jpg|Siri Maley & Brad test the climber prototype | ||
| + | Image:DB9_130126_csm-4.jpg|Marina, Brad, Keith Williams & Kira | ||
| + | Image:DB9_130126_csm-5.jpg|Climber prototype | ||
| + | Image:DB9_130126_csm-6.jpg|Douglas, Jack & Patrick C seek out our lost shooter mojo | ||
</gallery> | </gallery> | ||
---- | ---- | ||
[[Category:Robot]][[Category:DEWBOT IX]][[Category:DEWBOT IX Build]][[Category:Photo Galleries]] | [[Category:Robot]][[Category:DEWBOT IX]][[Category:DEWBOT IX Build]][[Category:Photo Galleries]] | ||
Latest revision as of 22:26, 6 June 2013
Contents
Sunday January 20, 2013
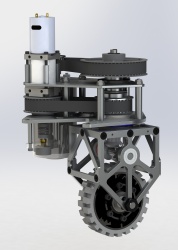
2013 pivot (SolidWorks rendering)
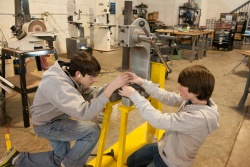
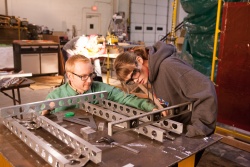
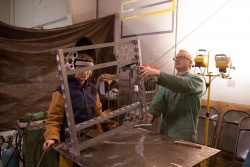
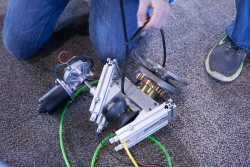
Brad & Patrick C press pinions onto steering motors
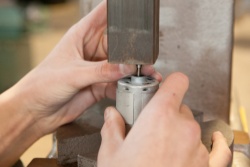
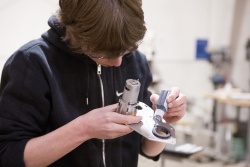
Pressing on a pinion
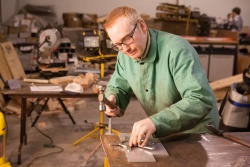
Kira drilling countersinks
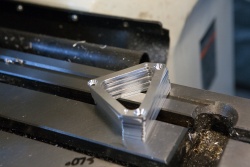
Countersunk pivot braces

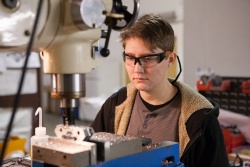
Kenneth
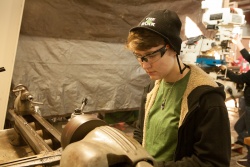
Molly on lathe
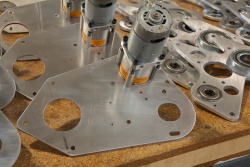
Pivot module top plates with steering motors installed
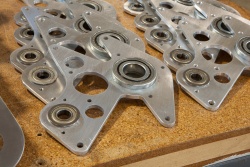
Pivot module bottom plates with bearings installed
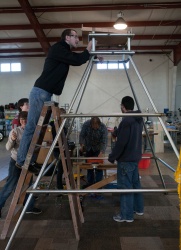
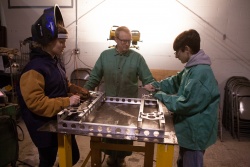
Douglas installing pyramid goal
Kenneth
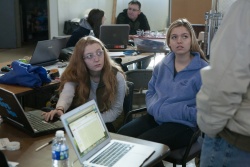
Hannah & Rachael
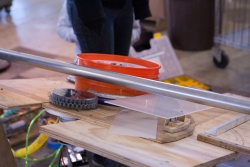
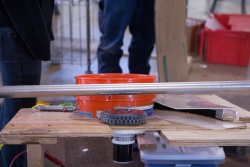
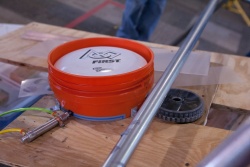
Shooter prototype
Pyramid goal

Frank's lesson
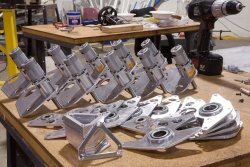
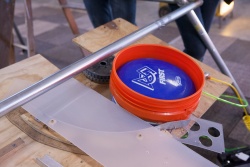
Pivot module parts
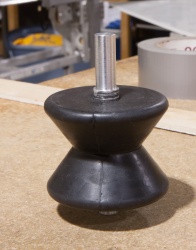
Bow-tie wheel for caterpillar drive


Monday January 21, 2013
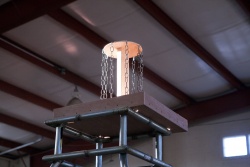
Climber prototype (early)
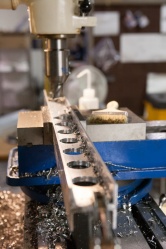
Chassis frame elements on the mill
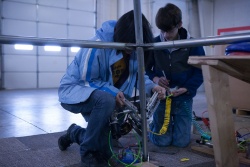
Tobi, Michael Geldart & Ian working on the climber

Fedora survey
work continuing on the climber
Gary Deaver at the feeder station


Tuesday January 22, 2013
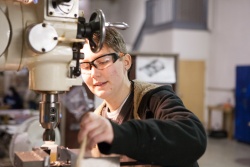
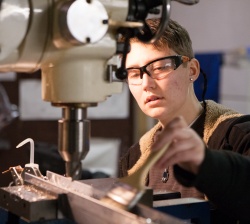
Molly
Kevin

Kira, Rich Kulik & Patrick C working on shooter
Session Linsey & Fatima
Molly milling lightweighting holes into chassis frame elements

Chassis frame weldment (subject to some small changes)


Wednesday January 23, 2013
Kira

Lucy
Ben Kellom & Kira
Brad
Yahya
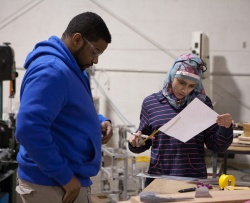
Session Linsey examines frame elements
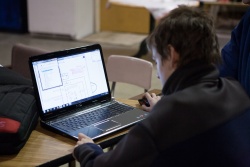
Siri Maley demonstrates SolidWorks

Tobi & Marina
Keith Williams
Keith Williams & Kira align Prime's chassis for welding


Thursday January 24, 2013
Molly milling gussets
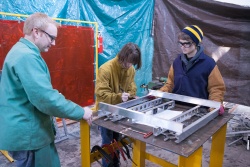
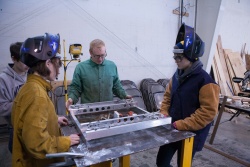
Kira. Keith Williams & Brad
Examining chassis frame
Jack gluing Igus bushing into pivot module top plate
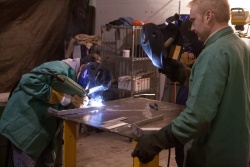
Brad welding
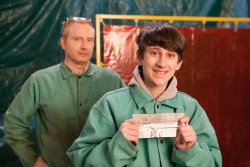
Brad Certified!


Saturday January 26, 2013
Keith Williams, Marina & Kira
Climber prototype, with weights
Siri Maley & Brad test the climber prototype
Marina, Brad, Keith Williams & Kira
Climber prototype
Douglas, Jack & Patrick C seek out our lost shooter mojo


