Difference between revisions of "Talk:DEWBOT VIII Hatsboro-Horsham"
MaiKangWei (talk | contribs) (→Bridge arm examples) |
MaiKangWei (talk | contribs) |
||
| (10 intermediate revisions by the same user not shown) | |||
| Line 1: | Line 1: | ||
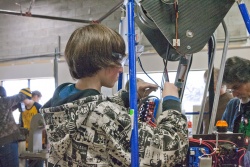
| + | [[Image:DB8_120314_csm-1.jpg|450px|right|thumb|Molly & 54T Sprocket]] | ||
==Post-Mortem== | ==Post-Mortem== | ||
===What Worked=== | ===What Worked=== | ||
| Line 54: | Line 55: | ||
:*Rationalize driver controls | :*Rationalize driver controls | ||
| − | ==Bridge arm | + | ==Bridge Arm Changes== |
| + | The original Bridge Arm was entirely replaced with a new arm. The original arm was passive (robot momentum provided the motive force to lower the bridge) while the new arm is active (the arm provides the motive force). | ||
| + | ==Ball Lift== | ||
| + | ===Beater Bar=== | ||
| + | ===Funnel=== | ||
| + | ===Scoop=== | ||
| + | ===Lift Belt=== | ||
| + | ===Rails=== | ||
| + | ==Shooter Control== | ||
| + | |||
==Post-Hatboro-Horsham Photo Gallery== | ==Post-Hatboro-Horsham Photo Gallery== | ||
<gallery widths=250 heights=250 perrow=3> | <gallery widths=250 heights=250 perrow=3> | ||
| − | Image: | + | Image:DB8_120310_csm.jpg|Winner Banners |
| + | Image:DB8_120311_csm-1.jpg|Prototype Bridge Arm (Drive) prototype on ''Deux'' | ||
| + | Image:DB8_120311_csm-2.jpg|Molly, Sasha, Julie Christopher & Andrew | ||
| + | Image:DB8_120311_csm-3.jpg|Molly, Sasha, Julie Christopher, Andrew, ''Deux'', Scott Featherman & Gary Deaver | ||
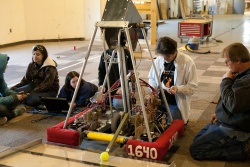
| + | Image:DB8_120312_csm.jpg|[[DEWBOT VIII]] ''(deux)'' trying to push [[DEWBOT VI]] up the Bridge (as deadweight) | ||
| + | Image:DB8_120313_csm.jpg|Sasha & Molly design a new Al pully for the beater bar drive | ||
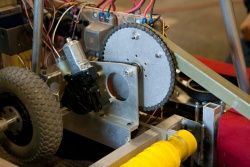
| + | Image:DB8_120314_csm-1.jpg|Molly & 54T Sprocket | ||
| + | Image:DB8_120314_csm-2.jpg|Kira, Lucy & Gary Deaver prepare for some carbon fiber work | ||
| + | Image:DB8_120315_csm.jpg|Pulley | ||
| + | Image:DB8_Unbagging_120318_csm-1.jpg|DEWVOT VIII ''Prime'' unbagged at 1:52, 18-Mar | ||
| + | Image:DB8_Unbagging_120318_csm-2.jpg|Patrick C | ||
| + | Image:DB8_Unbagging_120318_csm-3.jpg|Yahya & Lucy | ||
| + | Image:DB8_Unbagging_120318_csm-4.jpg|Lucy | ||
| + | Image:DB8_Unbagging_120318_csm-5.jpg|Kira & Sasha | ||
| + | Image:DB8_Unbagging_120318_csm-6.jpg|Team around [[DEWBOT VIII]] | ||
| + | Image:DB8_Unbagging_120318_csm-7.jpg|Yahya, Patrick C, Molly & Lucy | ||
| + | Image:DB8_Unbagging_120318_csm-8.jpg|Patrick C punching holes in belt; Lucy in background | ||
| + | Image:DB8_Unbagging_120318_csm-9.jpg|Lucy | ||
| + | Image:DB8_Unbagging_120318_csm-10.jpg|Patrick C stiching belts together (thanks!) | ||
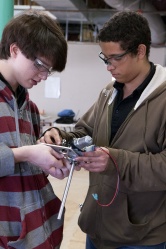
| + | Image:DB8_Unbagging_120318_csm-11.jpg|Yahya, Varun & Andrew | ||
| + | Image:DB8_Unbagging_120318_csm-12.jpg|Sasha & Kira | ||
| + | Image:DB8_Unbagging_120318_csm-13.jpg|Kira | ||
| + | Image:DB8_Unbagging_120318_csm-14.jpg|Andrew & Yahya | ||
| + | Image:DB8_Unbagging_120318_csm-15.jpg|Scott Featherman & Patrick C | ||
| + | Image:DB8_Unbagging_120318_csm-16.jpg|Lucy, Ian & Patrick C | ||
| + | Image:DB8_Unbagging_120318_csm-17.jpg|Programmers: Mike M, DJ & Patrick D | ||
| + | Image:DB8_Unbagging_120318_csm-18.jpg|Labview code on laptop | ||
| + | Image:DB8_Unbagging_120318_csm-19.jpg|Gary Deaver, Andrew & Yash | ||
| + | Image:DB8_Unbagging_120318_csm-20.jpg|[[User:Siri|Siri Maley]], Ian, Patrick C & Ben Kellom | ||
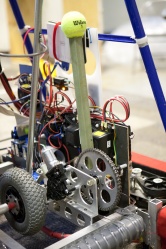
| + | Image:DB8_Unbagging_120318_csm-21.jpg|Beater Bar pulleys showing new Al pulley doubling speed of the beater bar | ||
| + | Image:DB8_Unbagging_120318_csm-22.jpg|Minion graphics around camera (Thanks, Molly) | ||
| + | Image:DB8_Unbagging_120318_csm-23.jpg|Robot mass 111 lb<sub>m</sub>. DEWBOT's been on a diet since Horsham | ||
| + | Image:DB8_Unbagging_120318_csm-24.jpg|[[DEWBOT VIII]] on the scale | ||
| + | Image:DB8_Unbagging_120318_csm-25.jpg|Bridge Arm Assembly | ||
| + | Image:DB8_Unbagging_120318_csm-26.jpg|On-Field... | ||
| + | Image:DB8_Unbagging_120318_csm-27.jpg|...prepared for Lenepe | ||
</gallery> | </gallery> | ||
---- | ---- | ||
| − | [[Category:DEWBOT VIII]] | + | [[Category:DEWBOT VIII]][[Category:Photo Galleries]] |
Latest revision as of 03:38, 30 March 2012

Contents
Post-Mortem
What Worked
- We won!
- Barrier Crossing
- Pivot Drive - but there are ease-of-use issues
- Shooter - but did not use speed control
- Manual aiming using camera - automatic aiming not tried
- Lift logic seems okay
341 said that they picked us as an alliance partner because:
- Ability to cross the barrier
- Autononous
- They trusted us (the drive team)
Further, they inicated that we were:
- Not arrogant
- Tenacious
- Coaches talk
What didn't
- Bumpers
- Fell off (fixed)
- Too big (pool noodles too large diameter)
- Too high
- We shear mounting rivets (change to steel)
- runs over balls
- Bridge Arm
- Did not allow us to get the bridge down to drive on
- Eye-pokers should be addressed
- Ball Lift
- Excessive compression
- Rails not anchored at top and actually crossed at one point
- Beater bar too high & slow
- Guide rails / funnel did not work - balls went under
Improvements needed
- Easier (more intuitive) to drive & operate
- Can we measure ball compressibility?
- Lighter, more transparent covering
- Auto aiming needed (needs to be fast & accurate)
- Shooter speed control needed
- Need a stronger and more reliable autonomous suite for Lenape
Action Plan
- Get deux working - Featherman & Deaver this week
- Retest 4-slot cRIO
- Use 8-slot cRIO if 4-slot not working
- Set up meetings with different focus - Mechanical / Programming / Training - w/ cross coverage to address issues
- Identify where mass can be reduced - Kellom
- Get vision processing & targeting working - Programming
- Develop a bridge arm that works - McKown & Kulik
- Fix Lift system - Deaver
- Robot must be mechanically/electrically complete prior to arrival at Lenape
- Rationalize driver controls
Bridge Arm Changes
The original Bridge Arm was entirely replaced with a new arm. The original arm was passive (robot momentum provided the motive force to lower the bridge) while the new arm is active (the arm provides the motive force).
Ball Lift
Beater Bar
Funnel
Scoop
Lift Belt
Rails
Shooter Control
Post-Hatboro-Horsham Photo Gallery
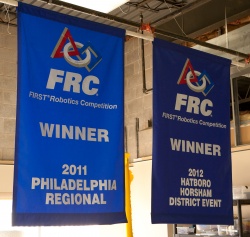
Winner Banners
Prototype Bridge Arm (Drive) prototype on Deux
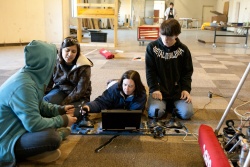
Molly, Sasha, Julie Christopher & Andrew
Molly, Sasha, Julie Christopher, Andrew, Deux, Scott Featherman & Gary Deaver

DEWBOT VIII (deux) trying to push DEWBOT VI up the Bridge (as deadweight)
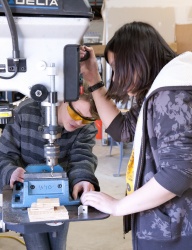
Sasha & Molly design a new Al pully for the beater bar drive
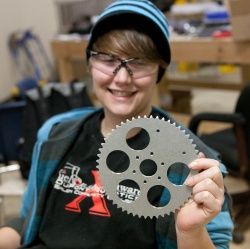
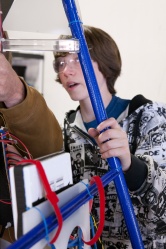
Molly & 54T Sprocket
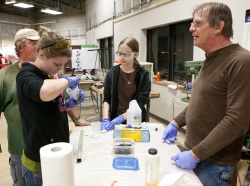
Kira, Lucy & Gary Deaver prepare for some carbon fiber work

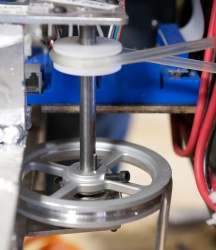
Pulley
DEWVOT VIII Prime unbagged at 1:52, 18-Mar
Patrick C
Yahya & Lucy
Lucy
Kira & Sasha
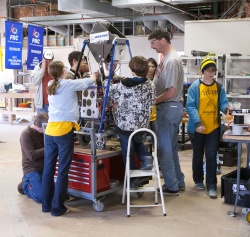
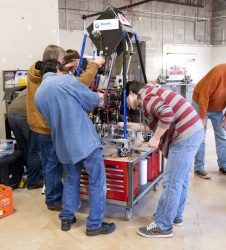
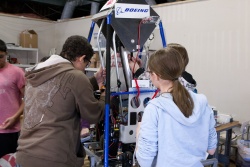
Team around DEWBOT VIII
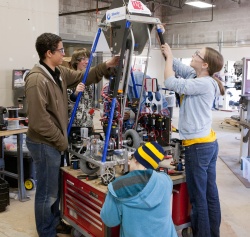
Yahya, Patrick C, Molly & Lucy
Patrick C punching holes in belt; Lucy in background
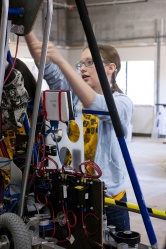
Lucy
Patrick C stiching belts together (thanks!)
Yahya, Varun & Andrew
Sasha & Kira
Kira
Andrew & Yahya

Scott Featherman & Patrick C
Lucy, Ian & Patrick C
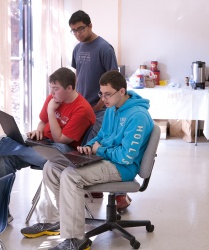
Programmers: Mike M, DJ & Patrick D
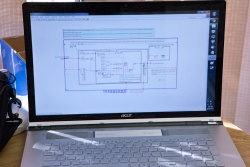
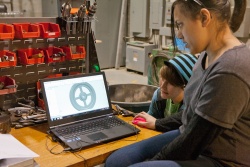
Labview code on laptop
Gary Deaver, Andrew & Yash
Siri Maley, Ian, Patrick C & Ben Kellom
Beater Bar pulleys showing new Al pulley doubling speed of the beater bar
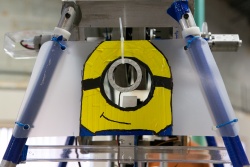
Minion graphics around camera (Thanks, Molly)
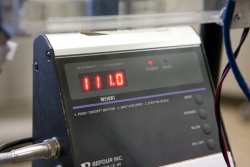
Robot mass 111 lbm. DEWBOT's been on a diet since Horsham
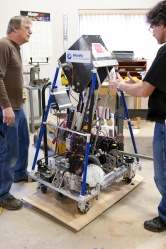
DEWBOT VIII on the scale
Bridge Arm Assembly

On-Field...
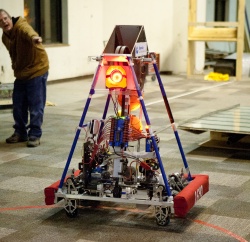
...prepared for Lenepe


